One of my pandemic projects has been to decorate my office with a pixel theme (see this Twitter thread for photos). In the evenings, I like to browse artist portfolios, hunting for just the right pieces to hang on the wall.
Stephen Osborne made a series of illustrations a few years ago imagining the "cyberpunk Toronto of the future" called Neodot City, which is also his handle on Instagram. I was delighted by the local angle and aesthetic, and bought two of them on his RedBubble shop. Here's what one of the 8" by 12" metallic photographic prints looks like:
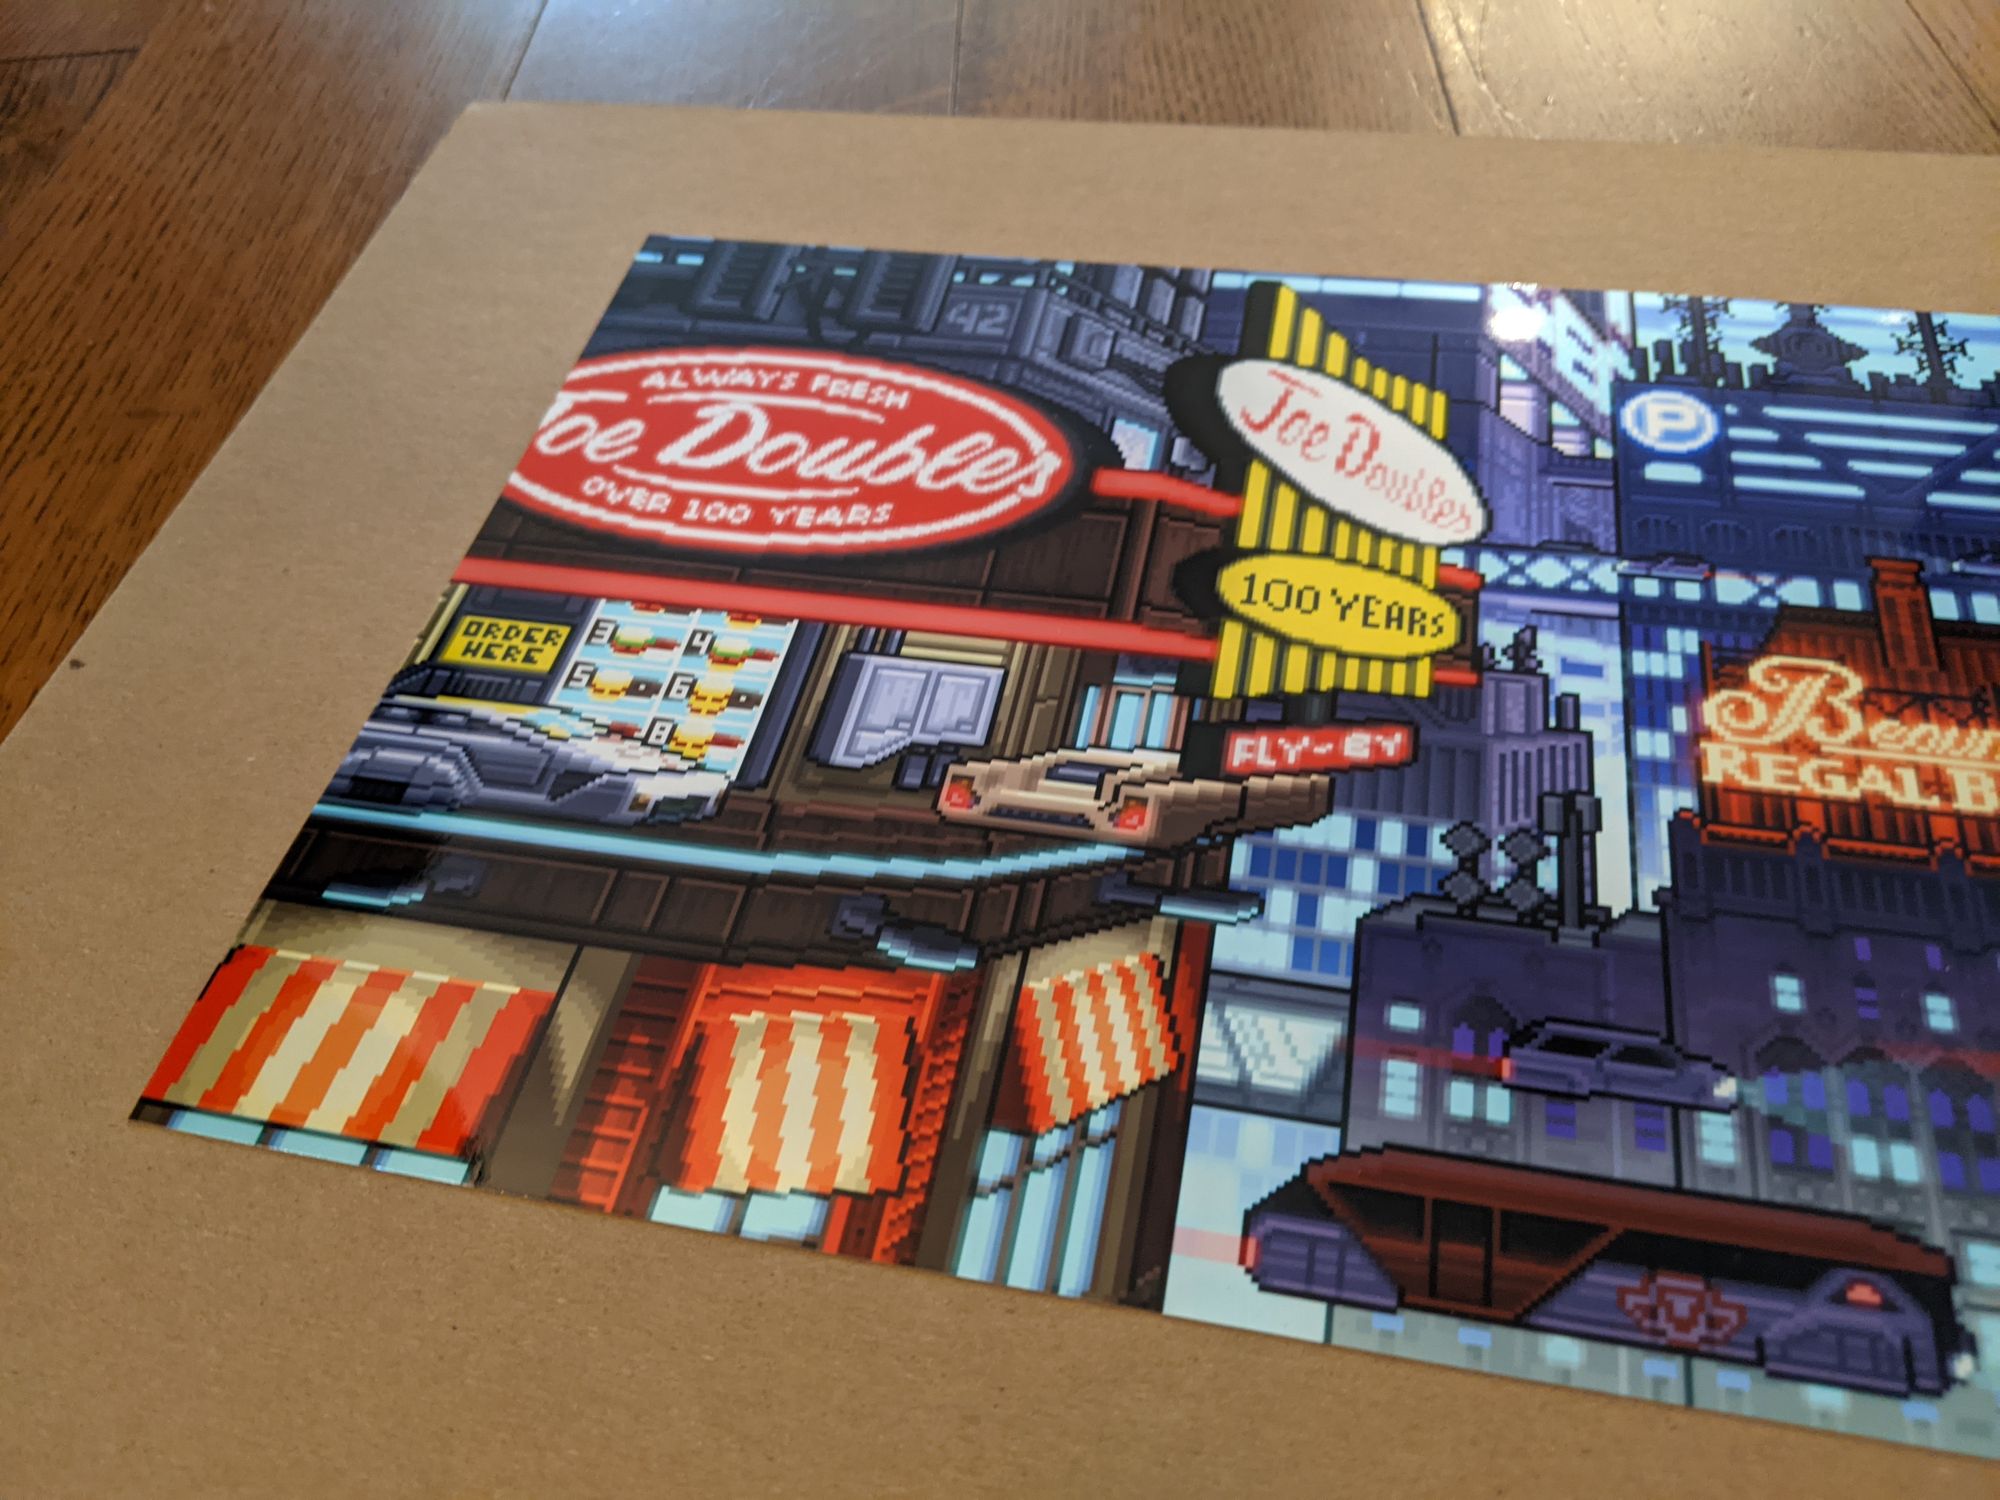
Looking for an interesting way to display this print, I came across a video by Adam Bowie describing How To Hack a Lightbox From an IKEA Ribba Frame. The basic idea was to take apart a shadow box, tape LED light strips to the sides of the frame, then illuminate the artwork by diffusing the light from the interior.
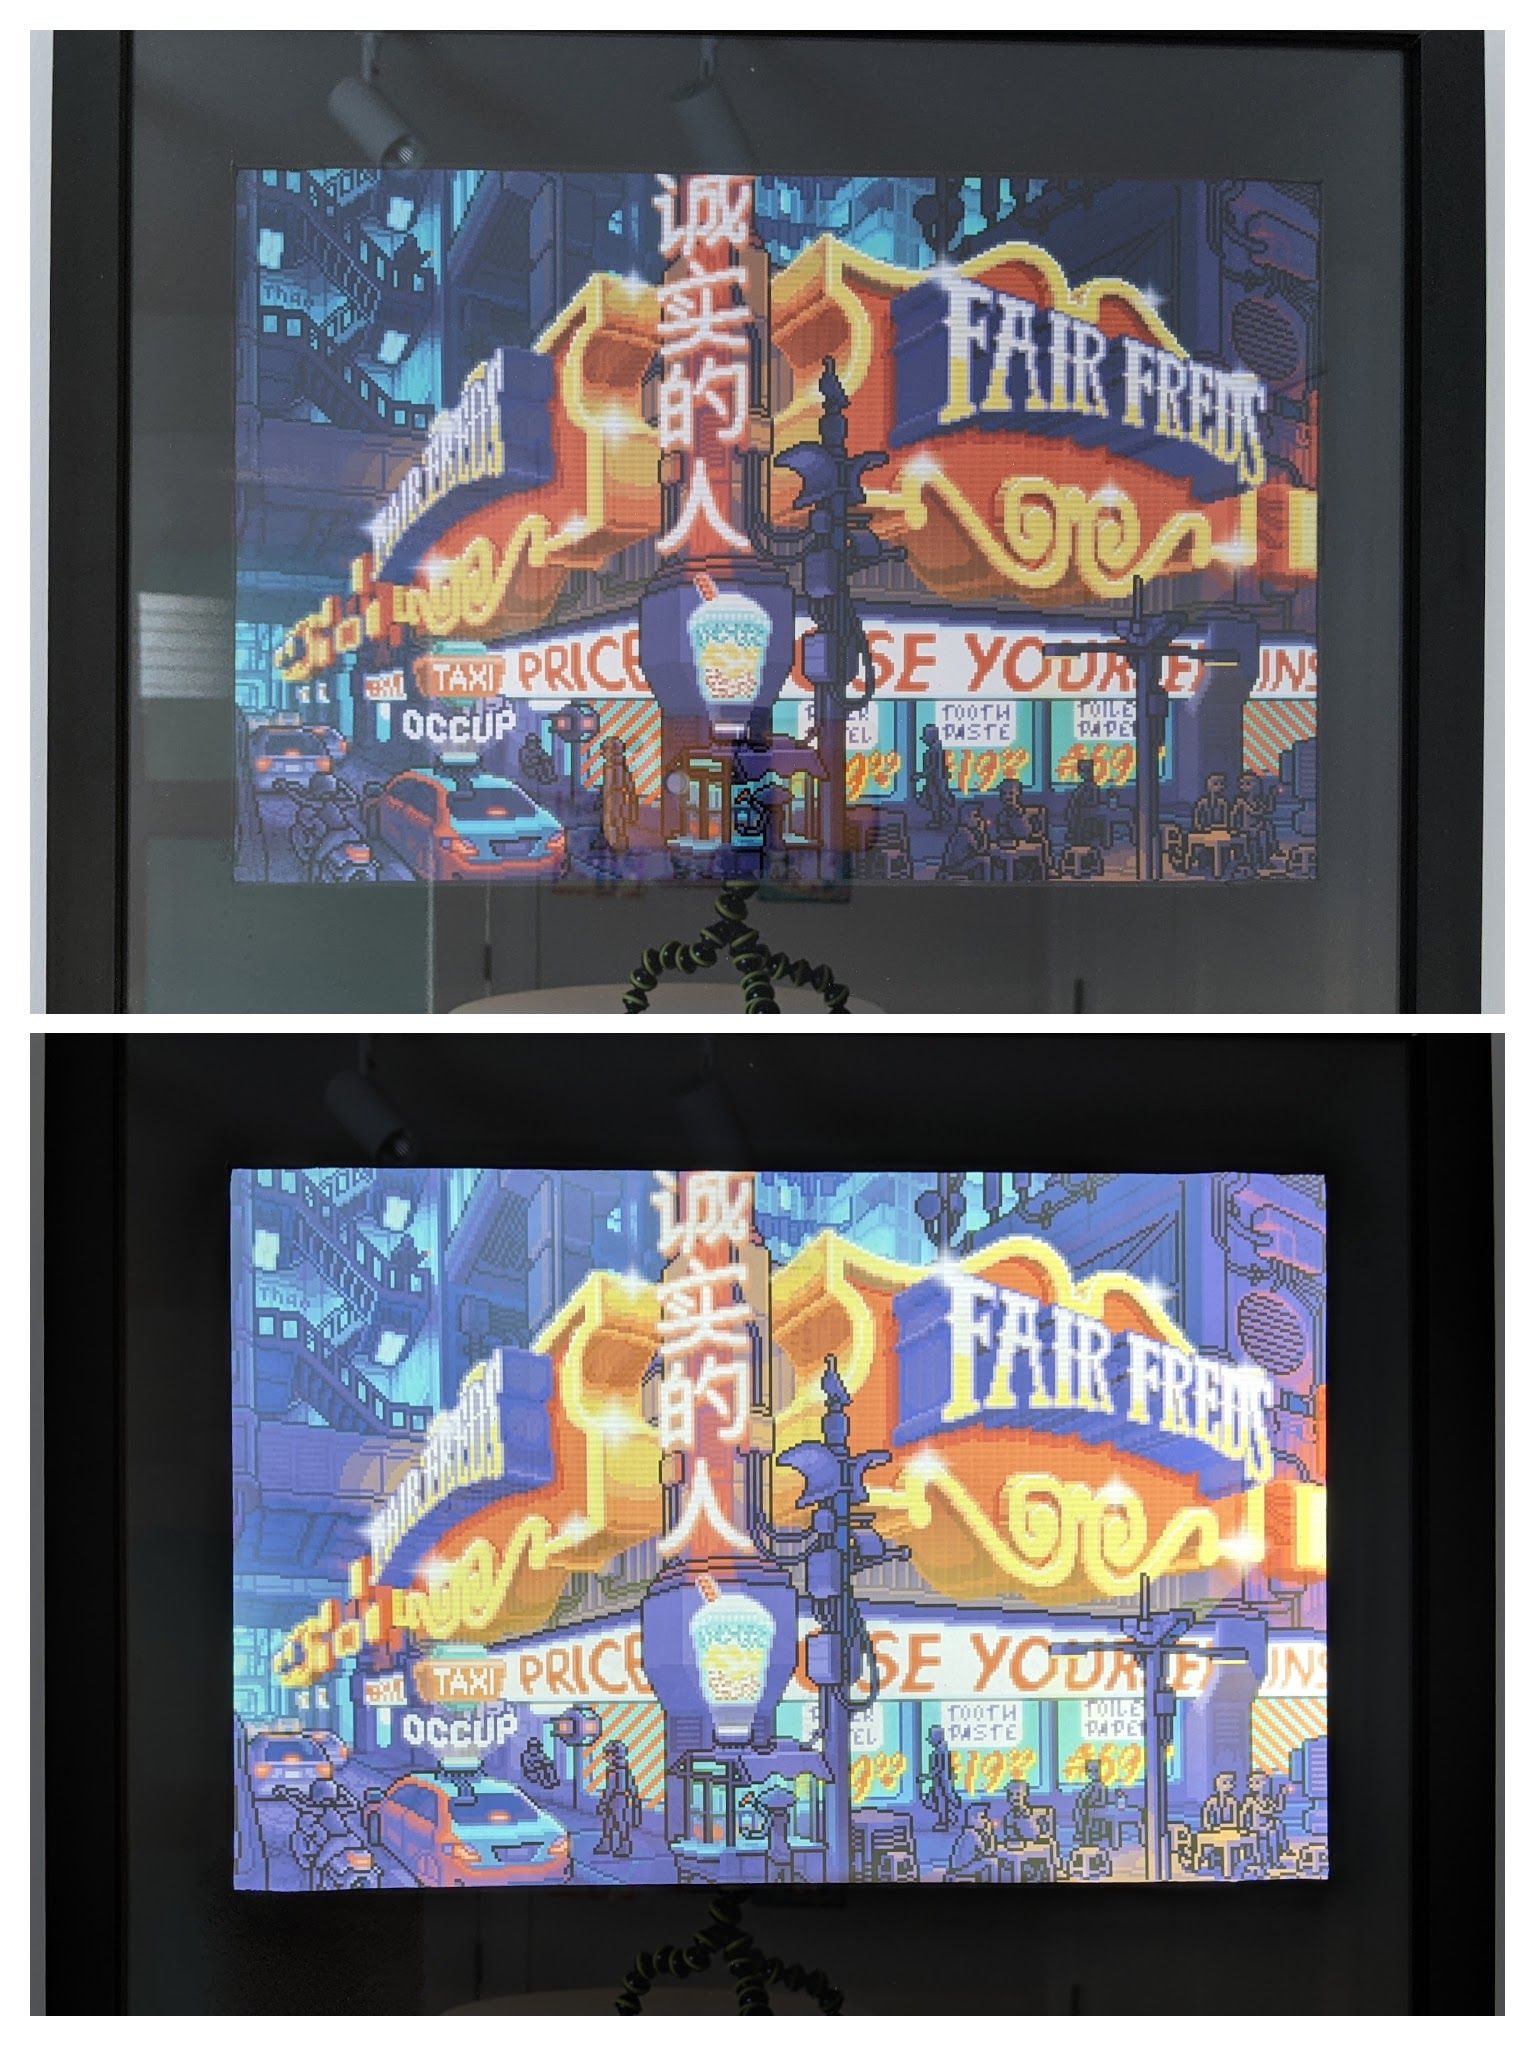
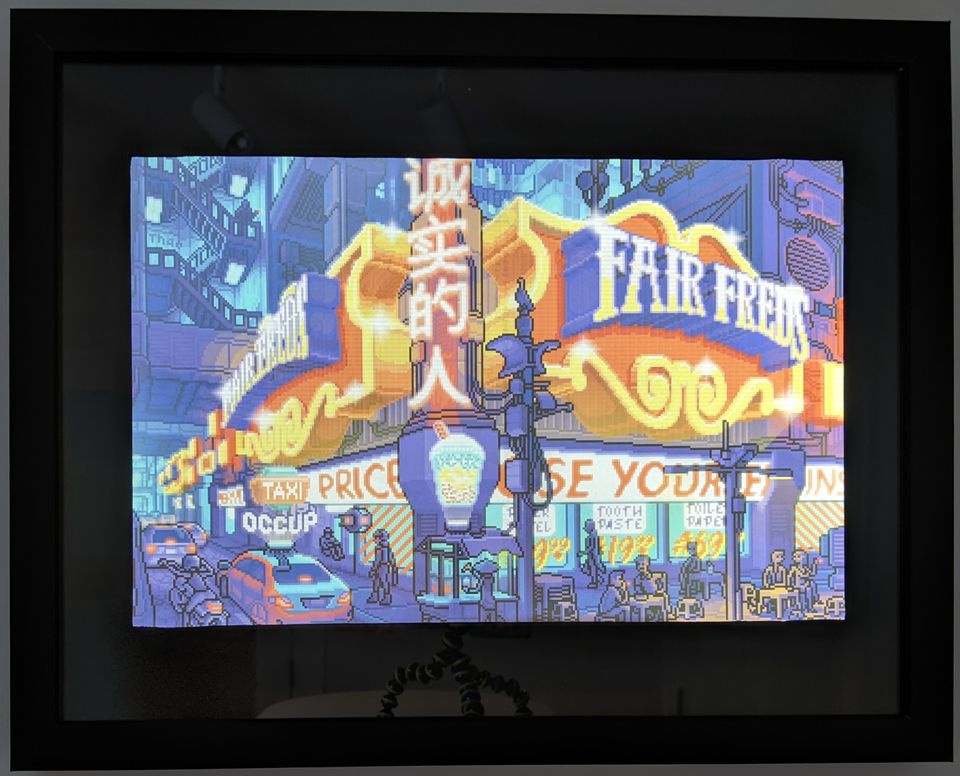
Here's a sneak peek of the final result:
The first step was a trip to Michaels, a massive arts-and-crafts chain store to get the 11" by 14" shadow boxes ($25 CAD for two) and mattes with 8" by 10" openings ($7 CAD each):
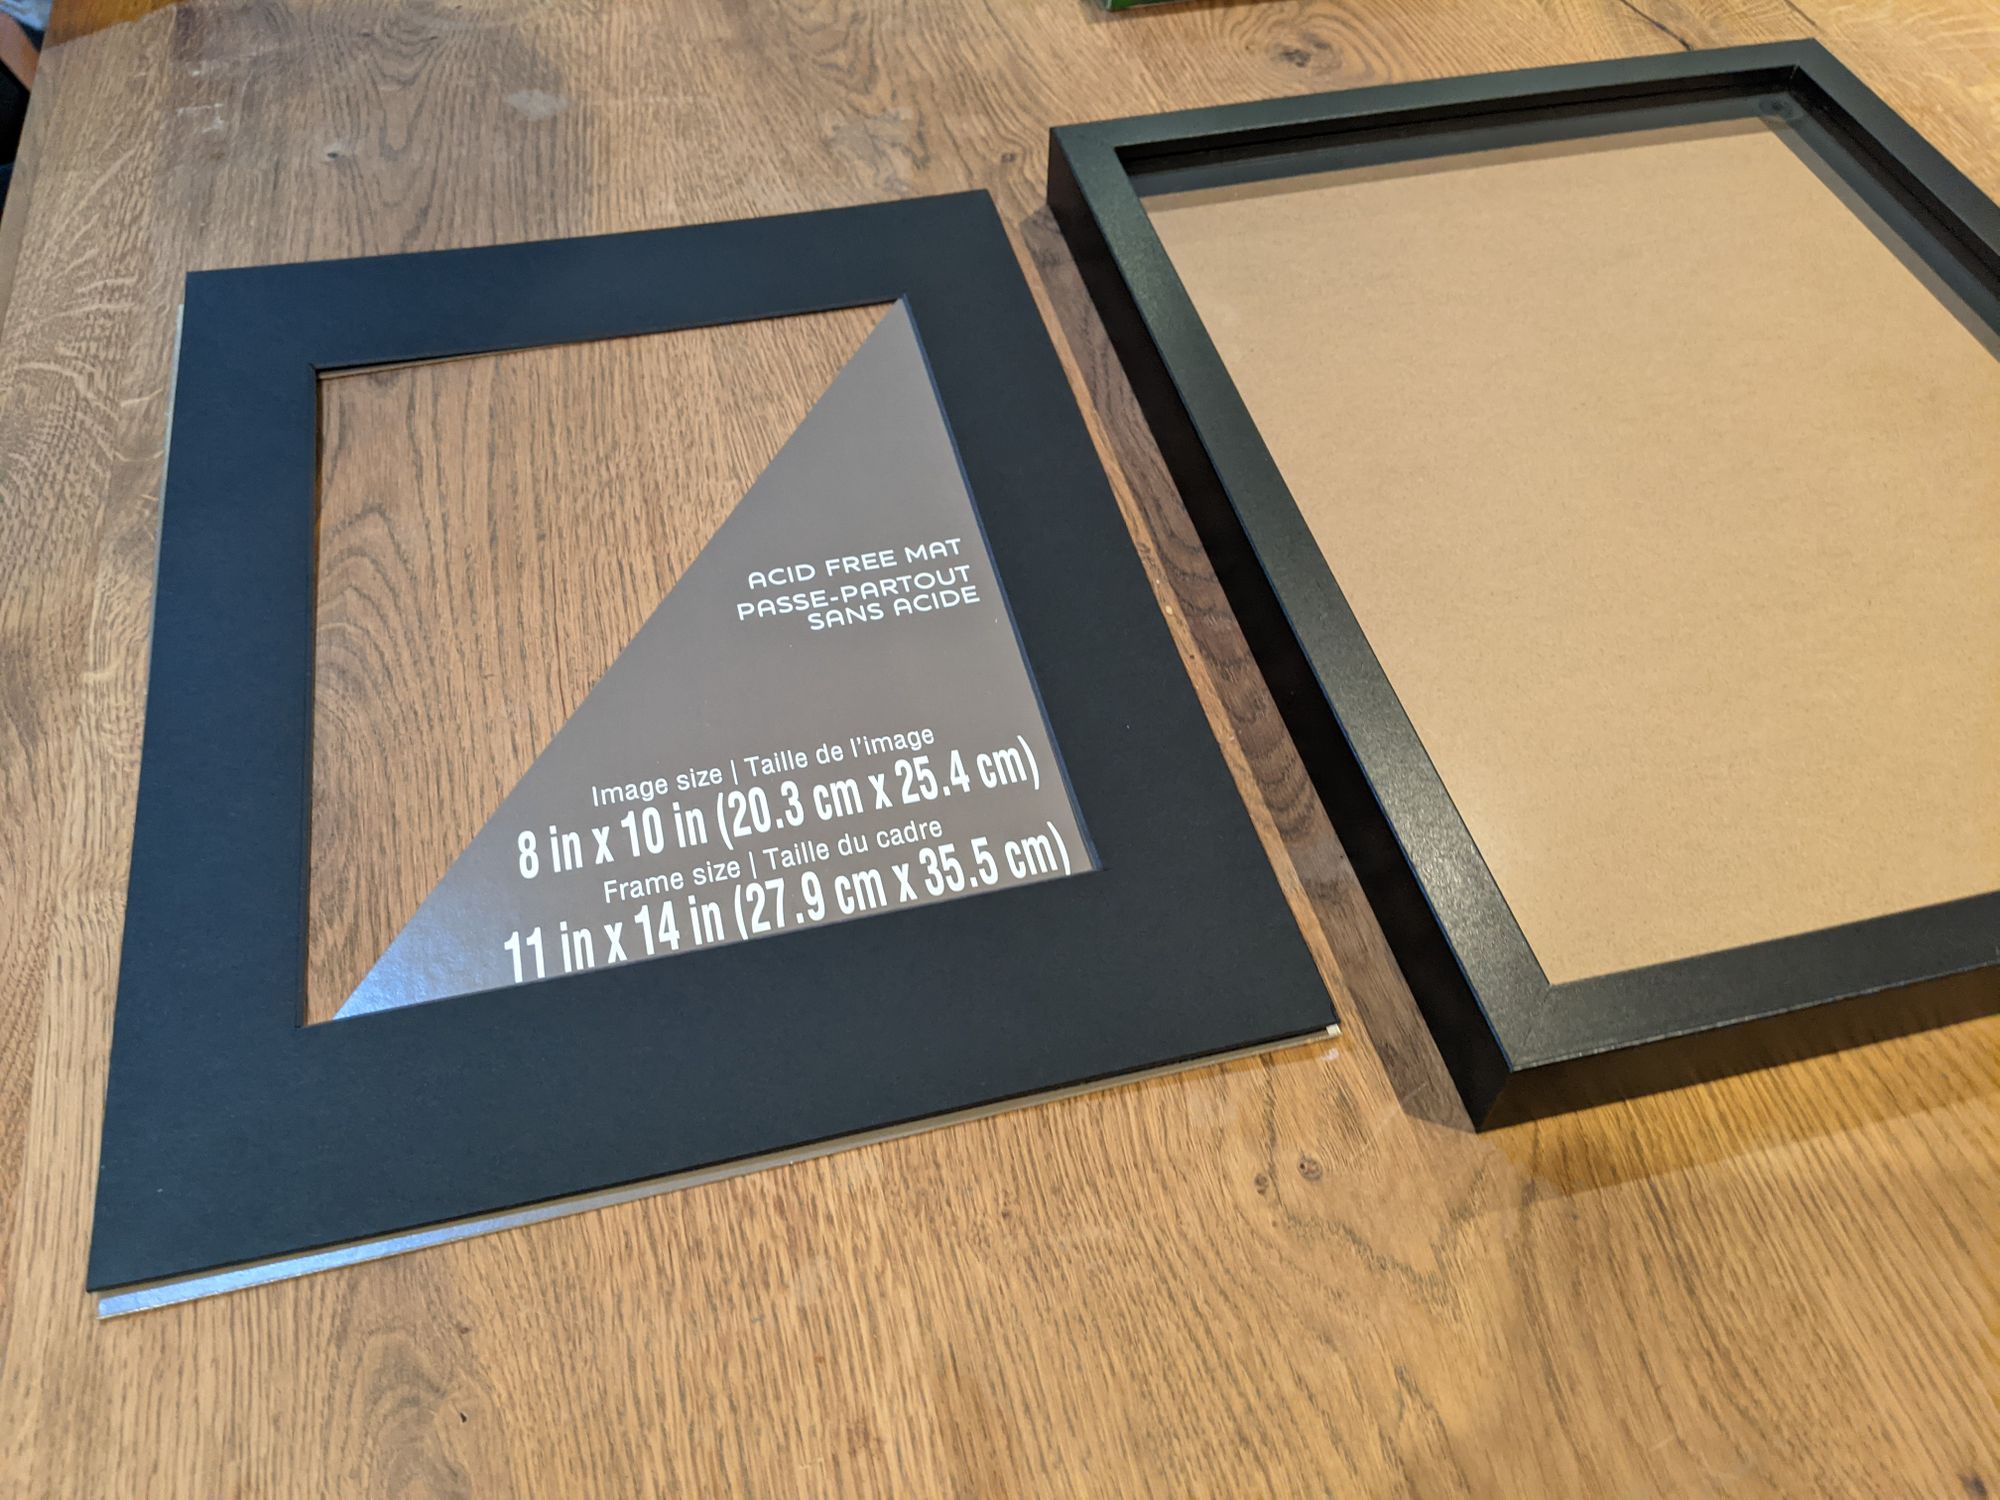
Michaels actually sells 11" by 14" mattes with 8" by 12" openings, but they were out of stock everywhere. Without an angled matte cutter, I used an Olfa snap-blade knife to (poorly) enlarge the 10" opening to a 12" long one.
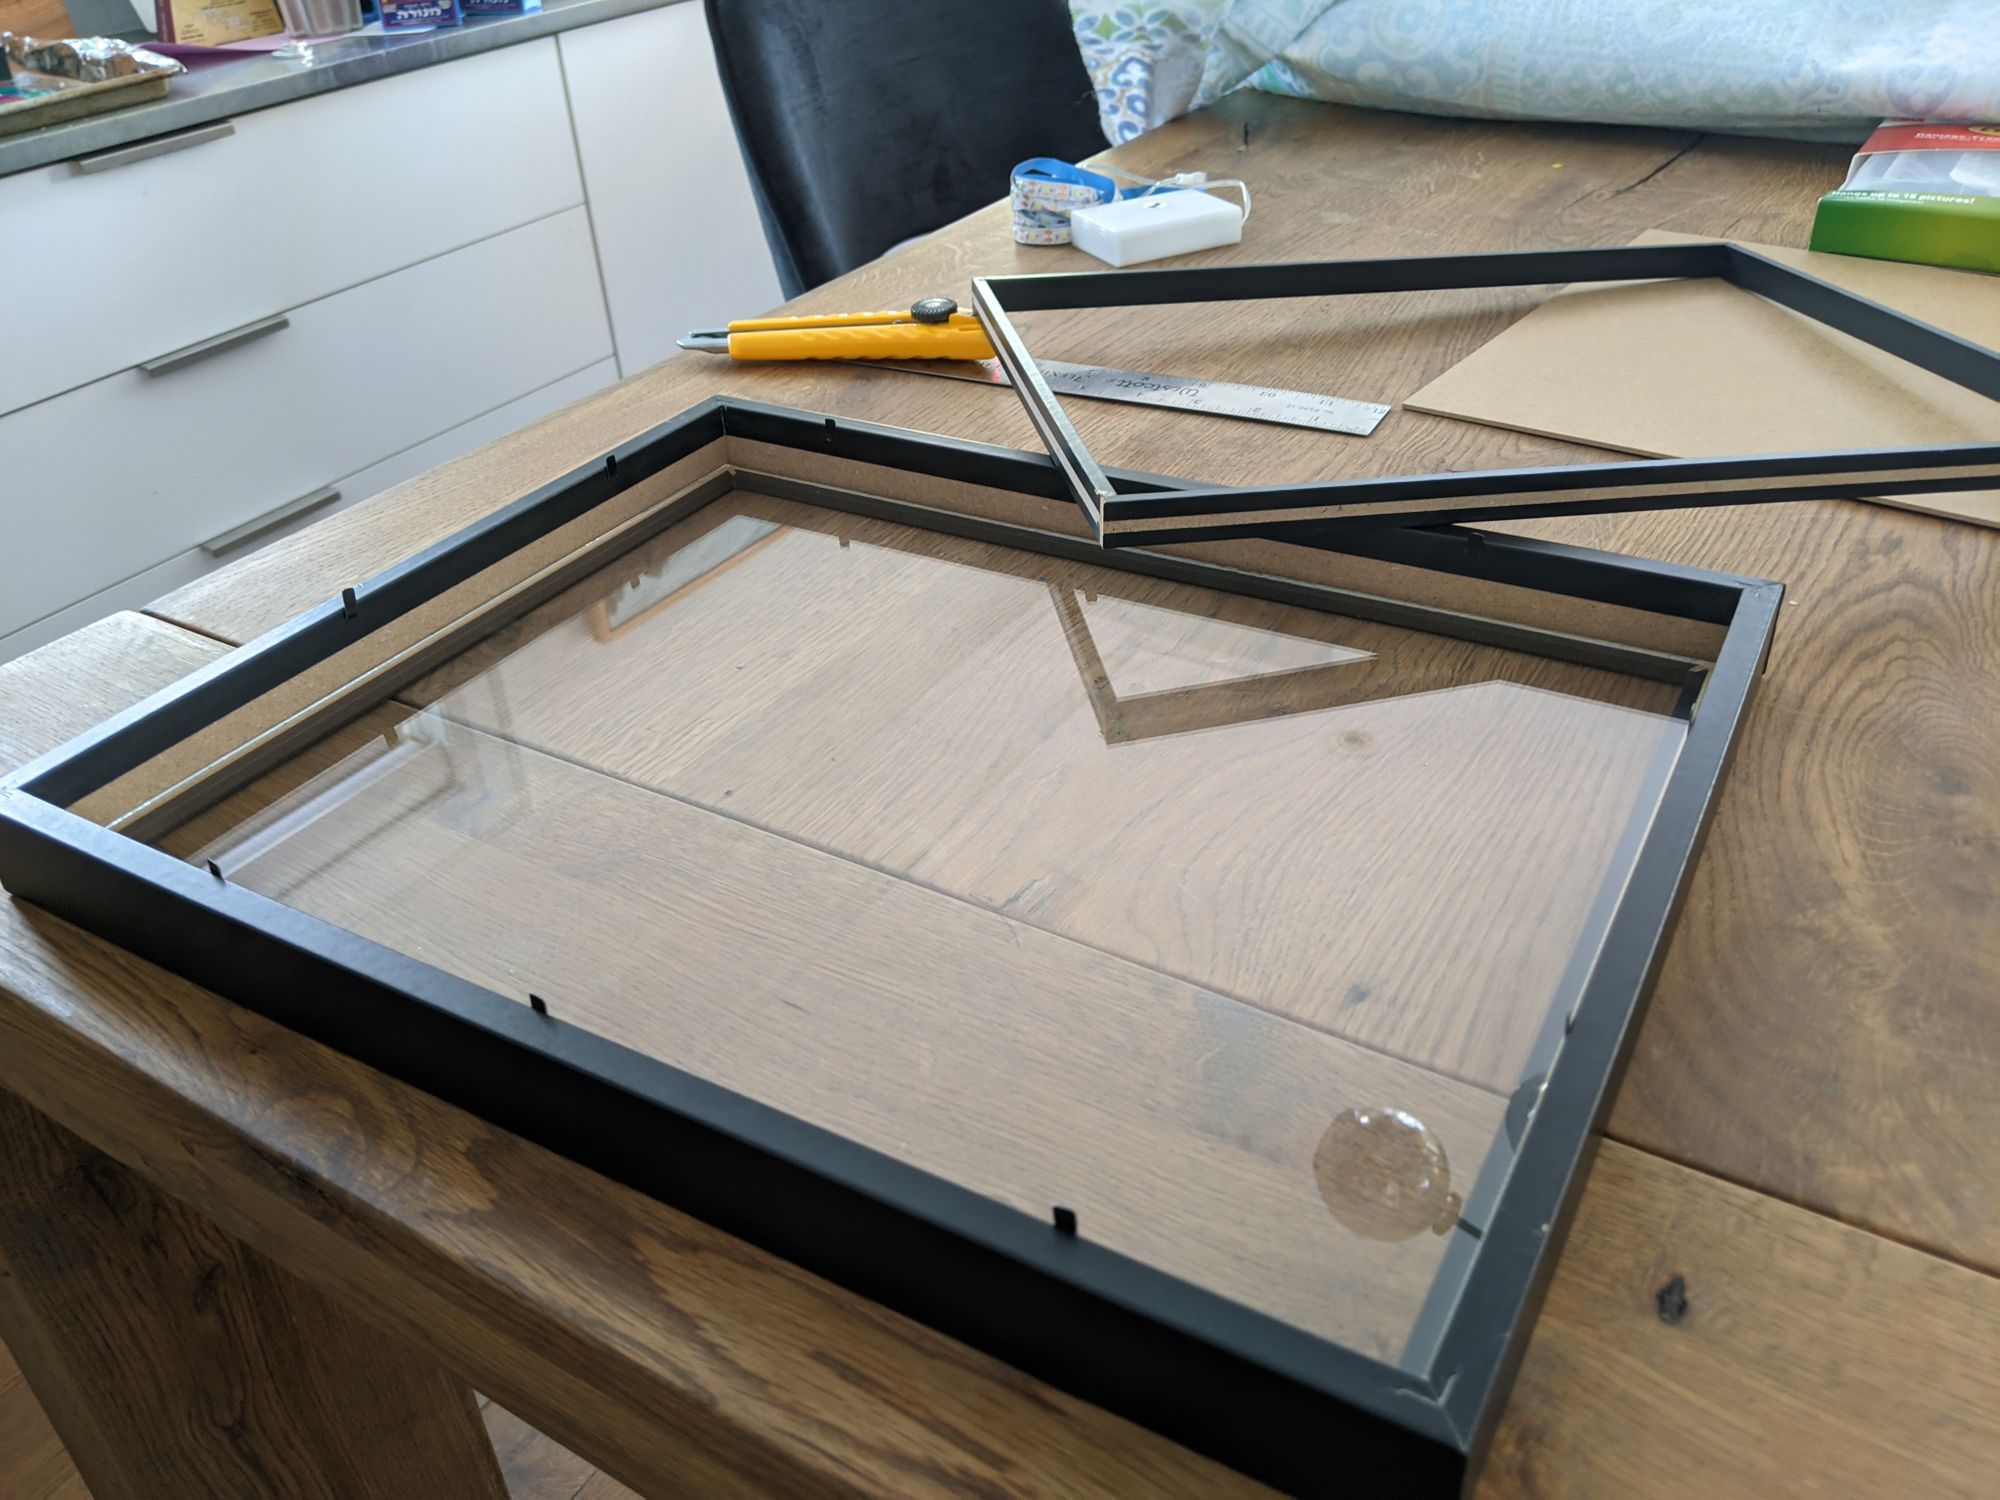
I didn't need the shadow box spacer insert so I took that out and also bent the flexible points out of the way:
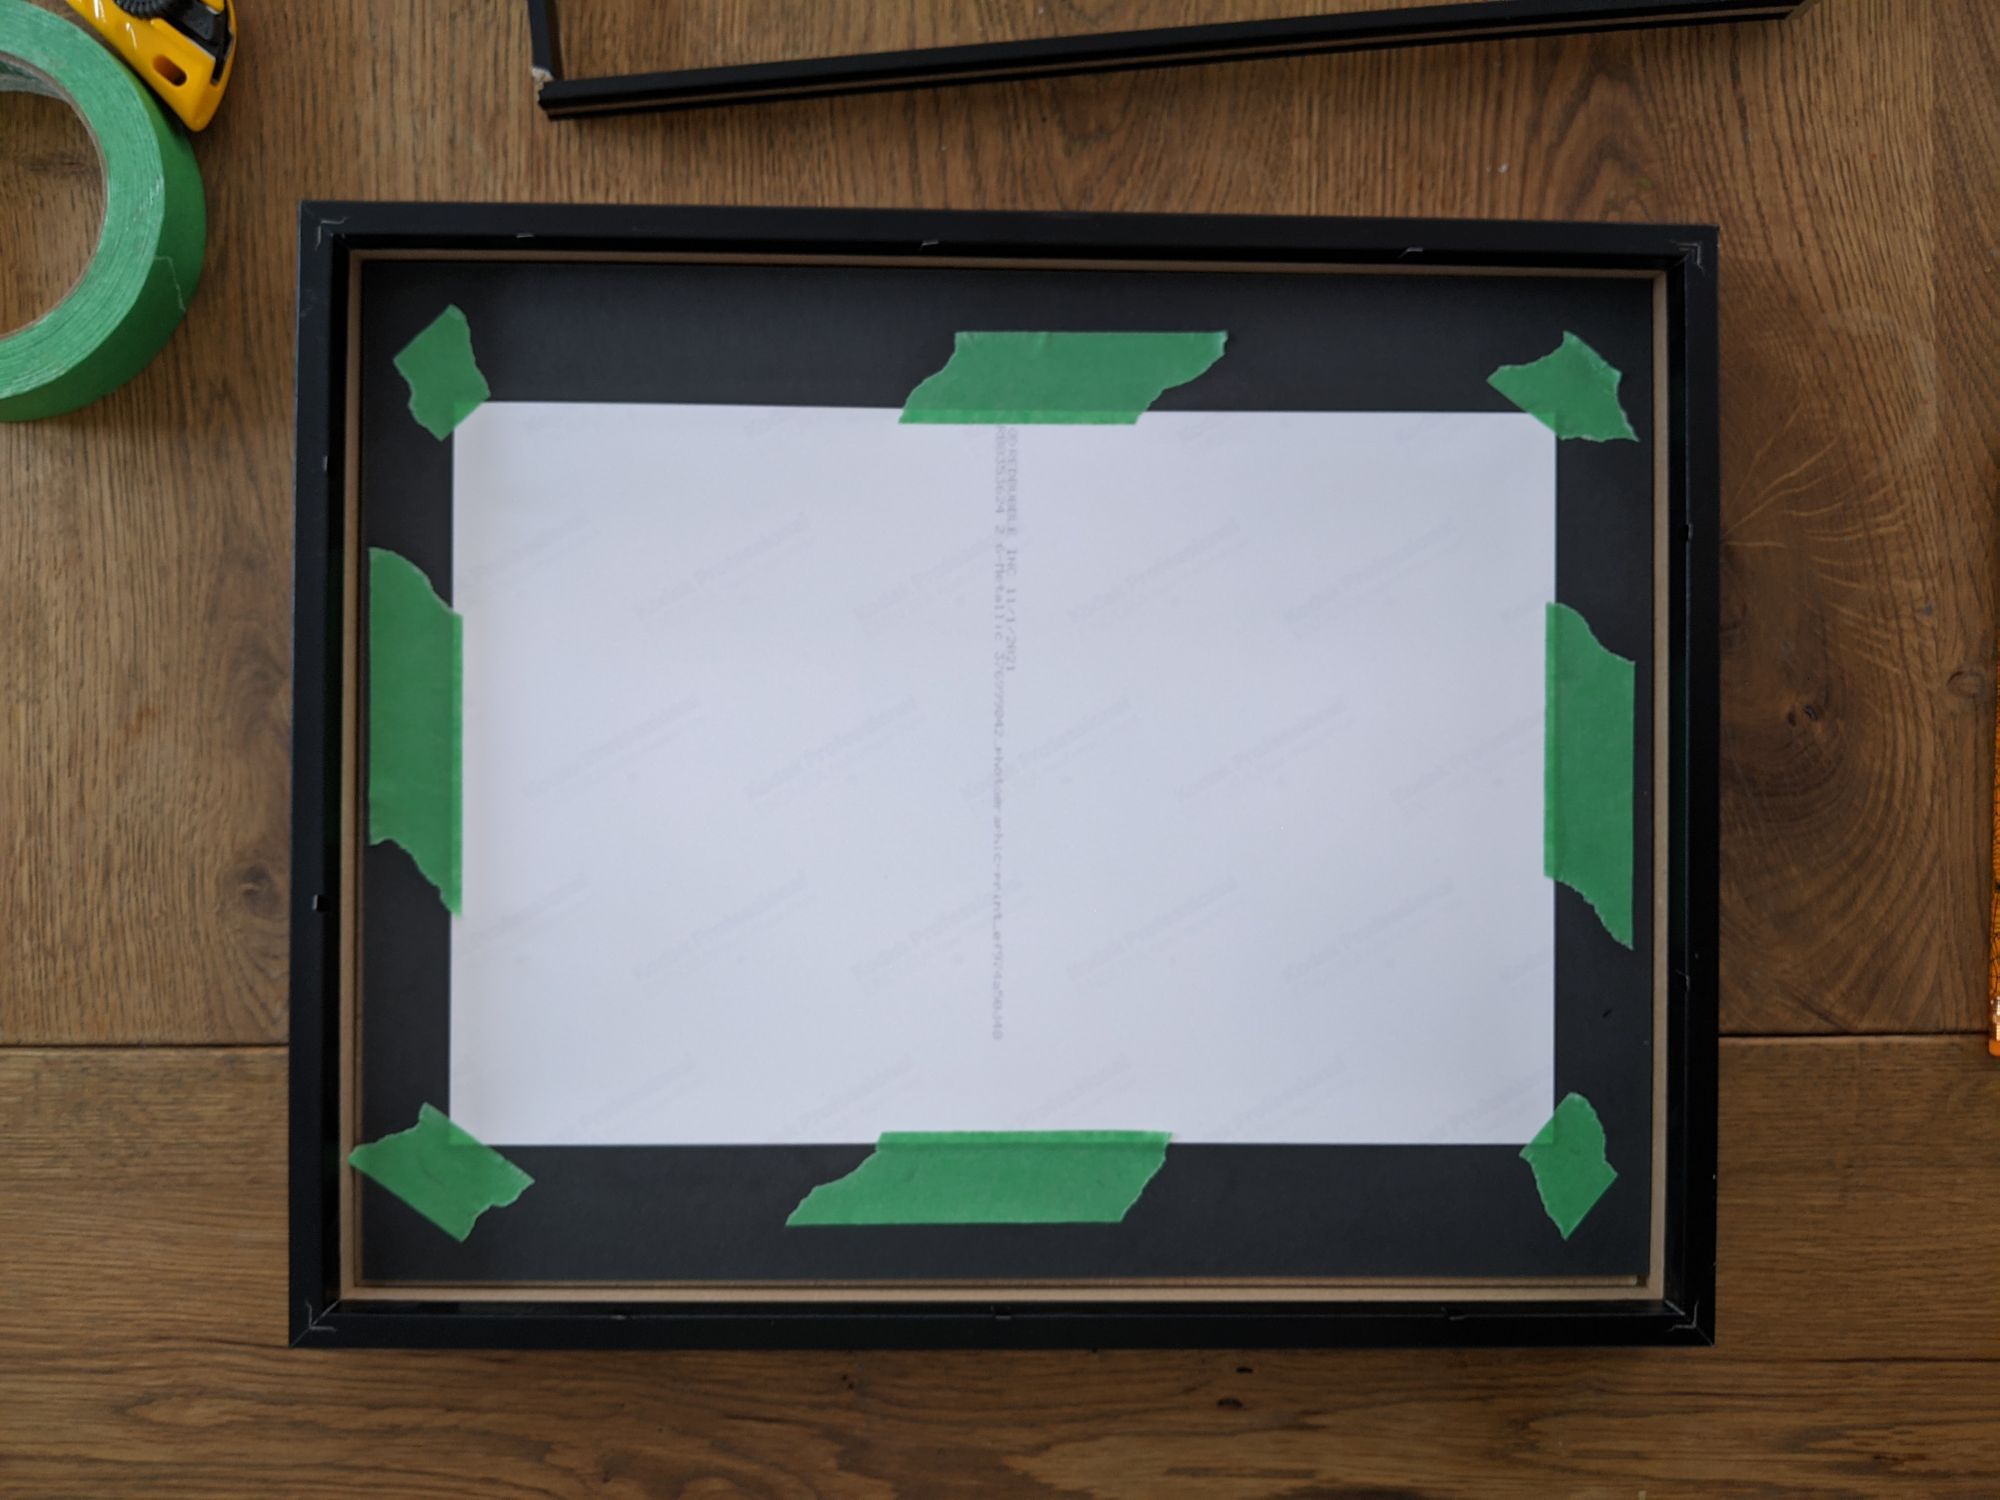
Then, I mounted the print to the matte using masking tape. This was a mistake. It isn't meant to hold any weight and doesn't even stick that well. It might be okay to just check alignment, but peeling it off started to remove bits of the matteboard material.
In the YouTube video, Bowie used LED strips powered by a wall plug, but I wanted the freedom to be able to place the frame anywhere, without a cord hanging out of it. There are plenty of LED light strips out there, but the ones I ended up getting were from lightinthebox.com ($10 CAD each). I got the ones powered by three AA batteries, with warm white LEDs, in a 2m length (since the shadow box perimeter was 2 x (11" + 14") = 50" = 127cm). The strips have adhesive on the back, and I also folded the framing points back to keep them out of the way.
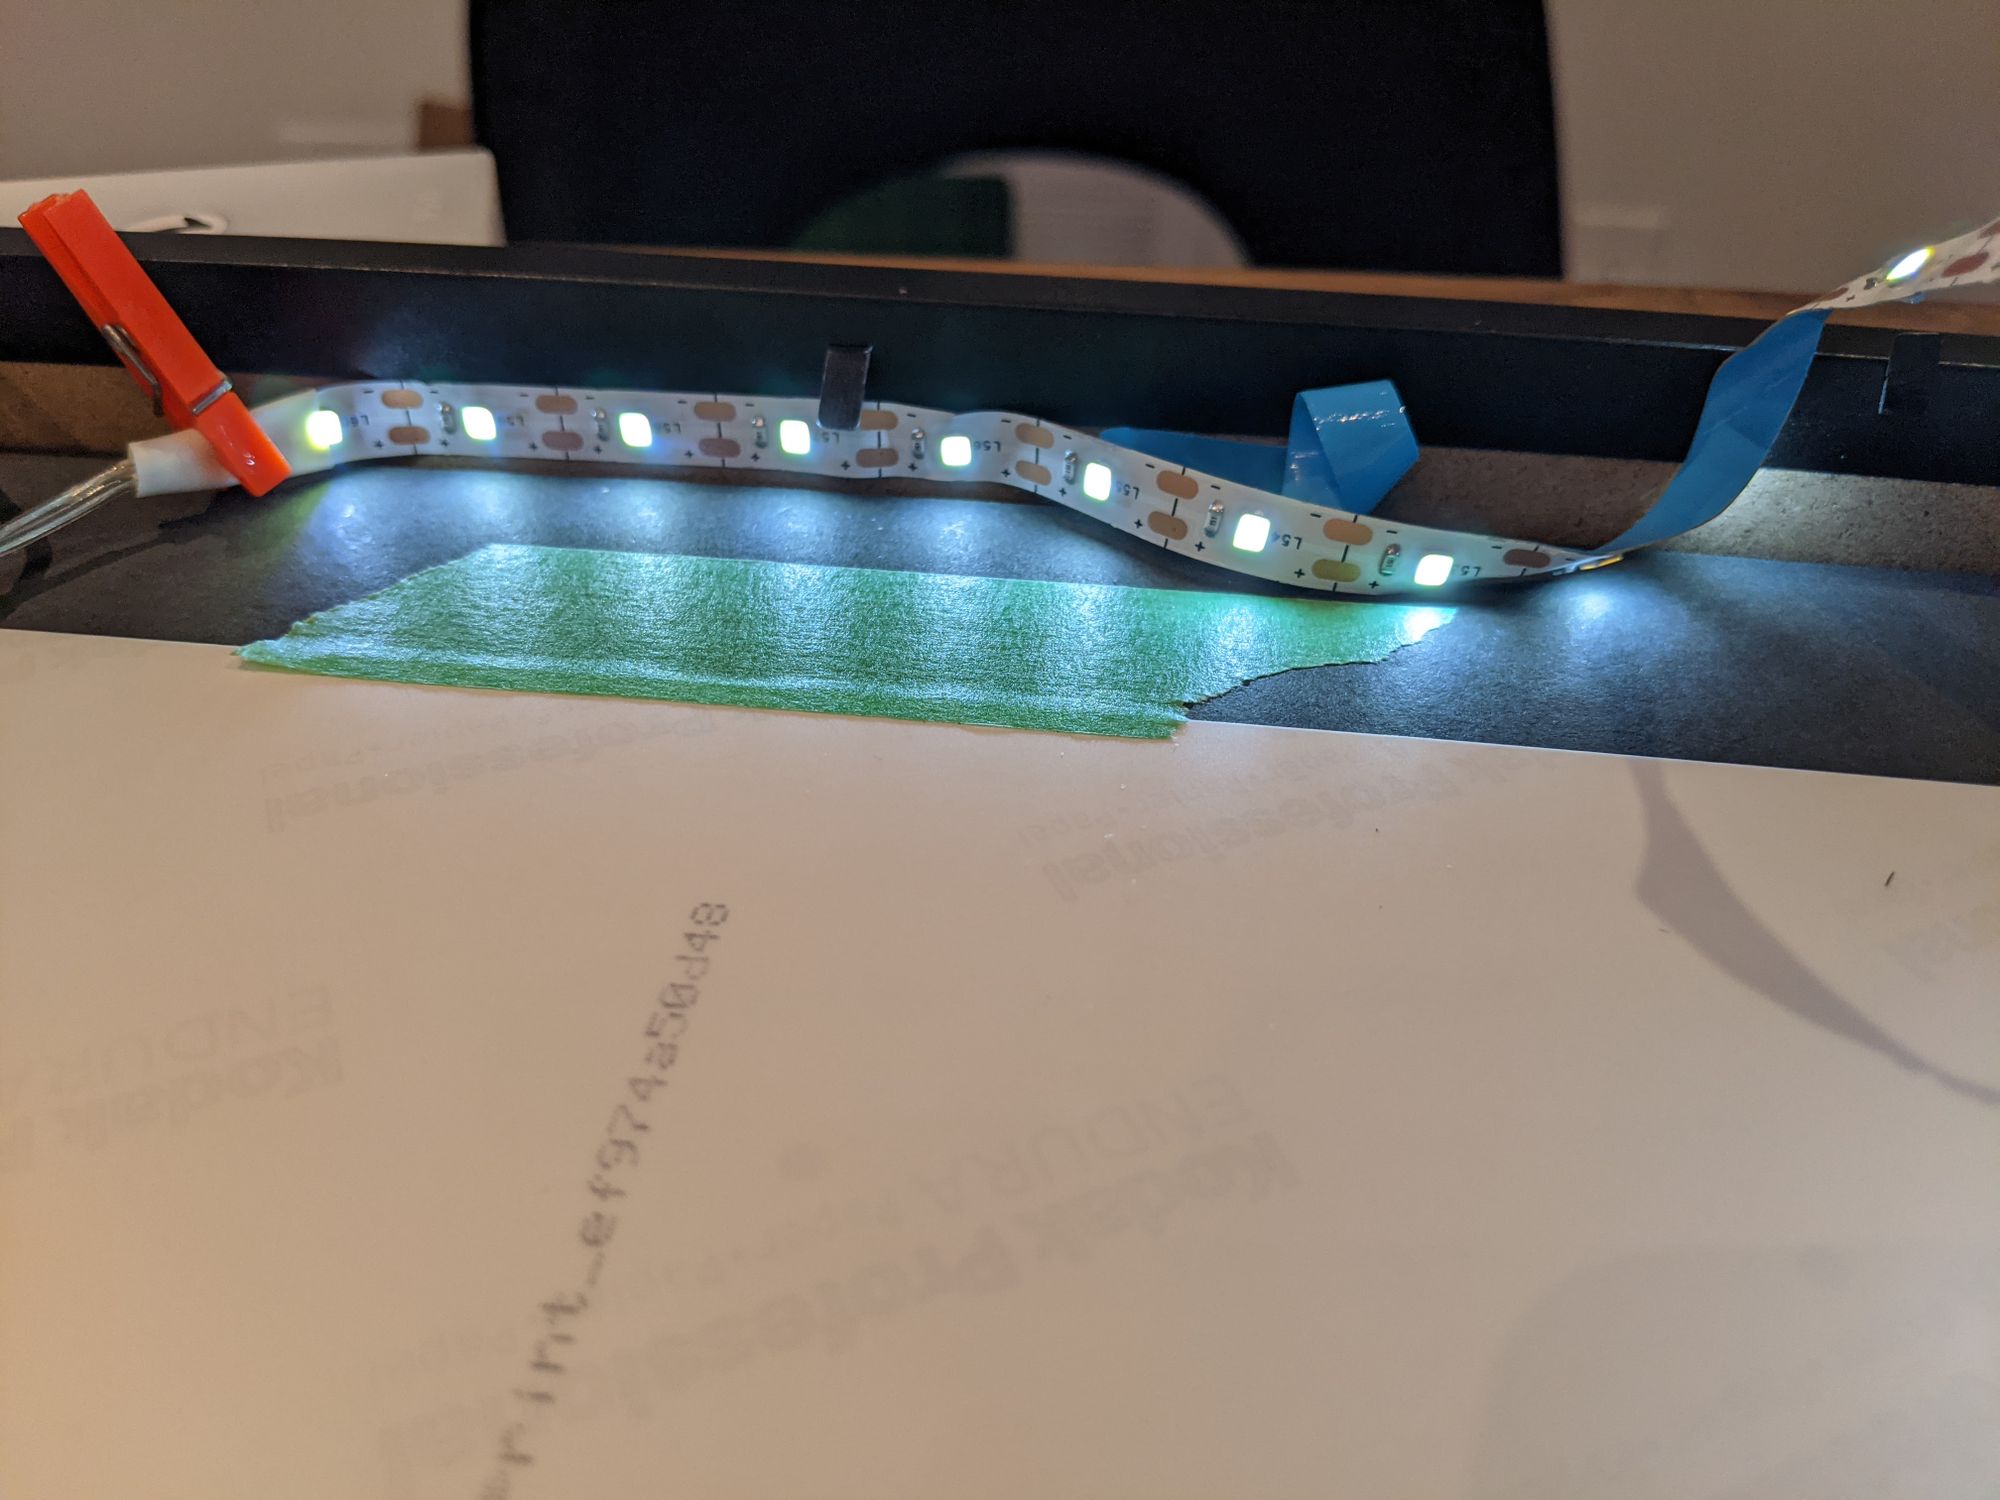
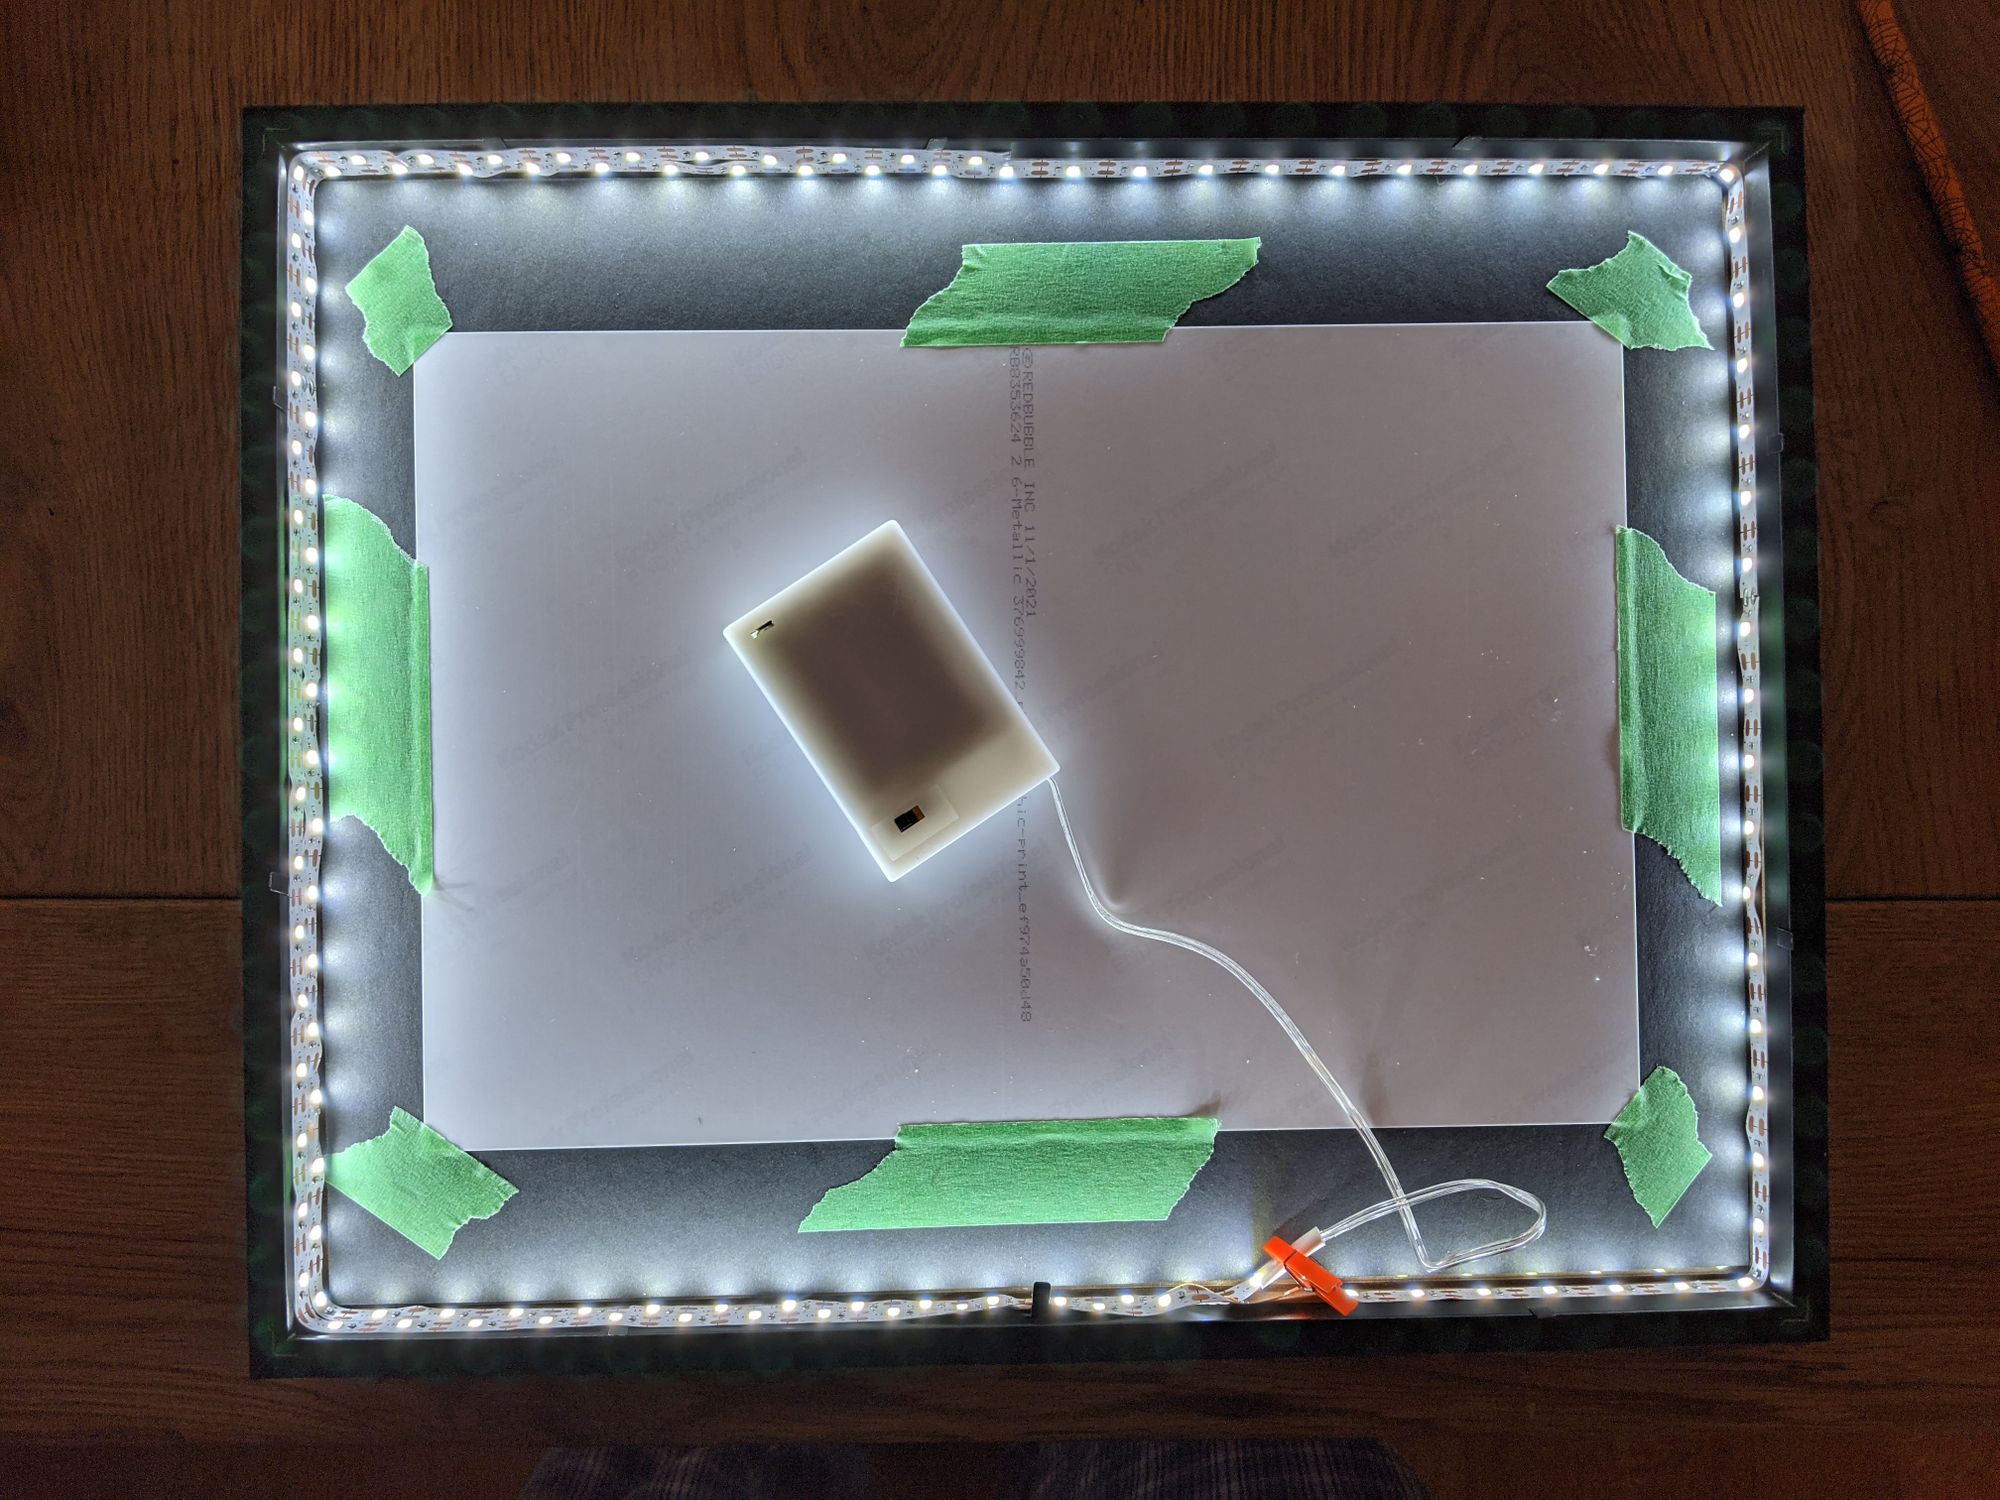
One thing to consider is where you want the battery pack to end up (more on this below). I definitely wanted it at the bottom, so I started by taping the LEDs closest to the battery pack, beginning at the bottom of the frame (relative to how the artwork is being displayed). Here's the finished lights:
I also replaced the masking tape with paper tape (Duck Brand EZ Tear Paper Tape, $10 CAD) cut into narrow widths:
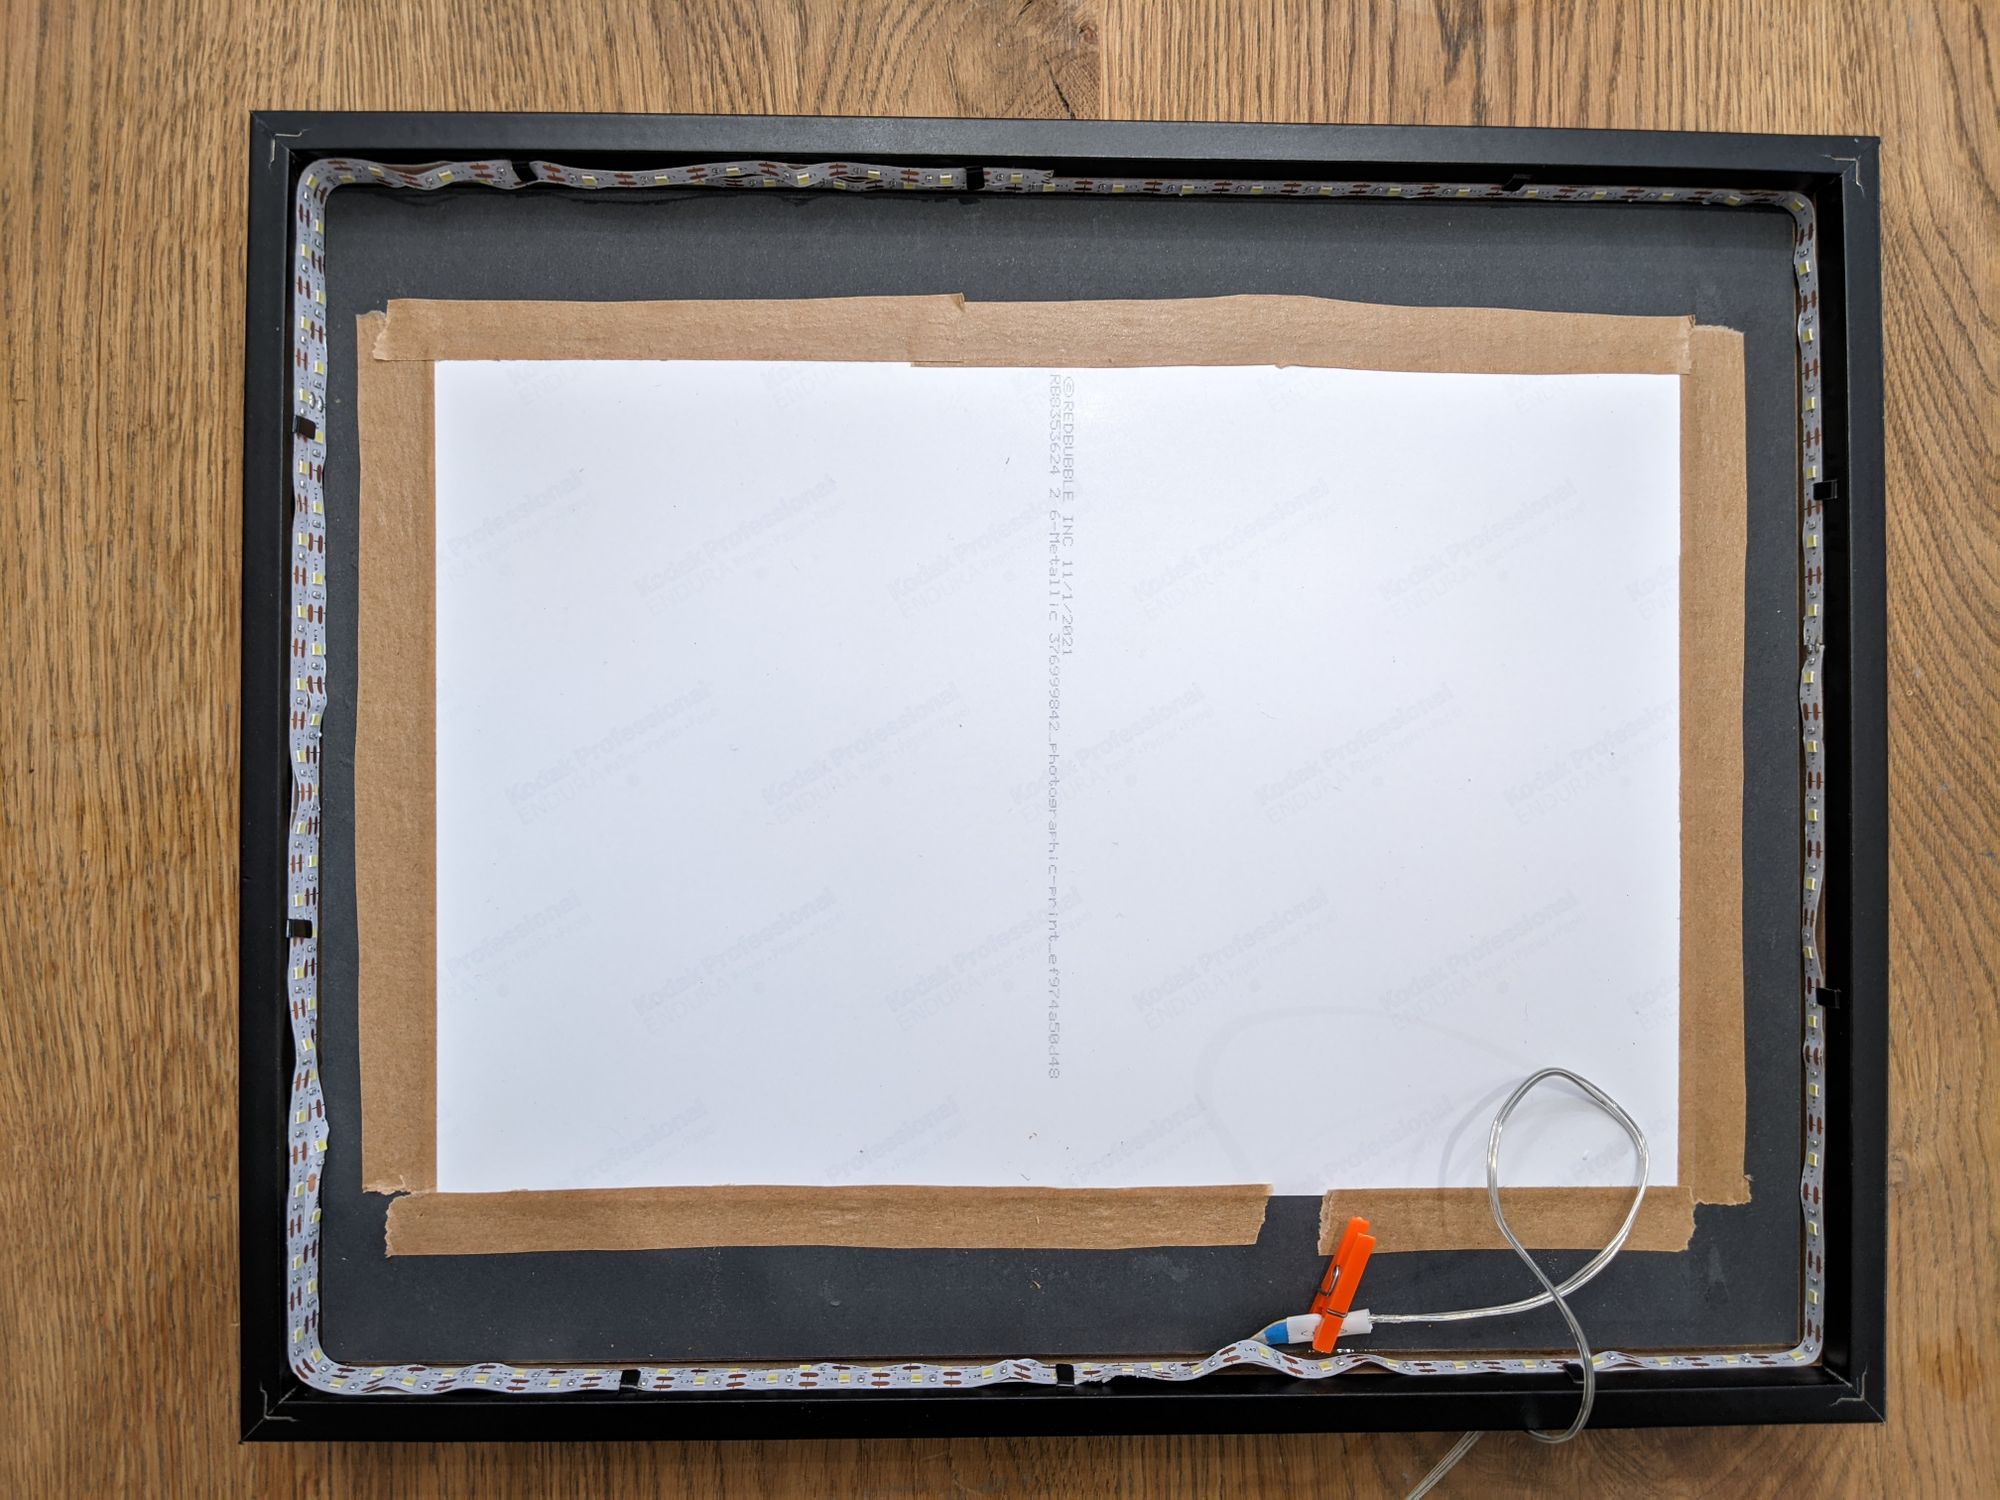
This is also a good time to check the illumination of your artwork, to see if photograph or artwork is too thick, or if LED lights are bright enough to shine through.
To allow the light to illuminate the interior, I needed to ensure the backing board was positioned higher than the light strips. I initially tried stacking flat, self-stick rubber bumpers (that you stick to a cabinet door so it doesn't slam onto the frame), but I needed four or five, and the adhesive wasn't very strong.
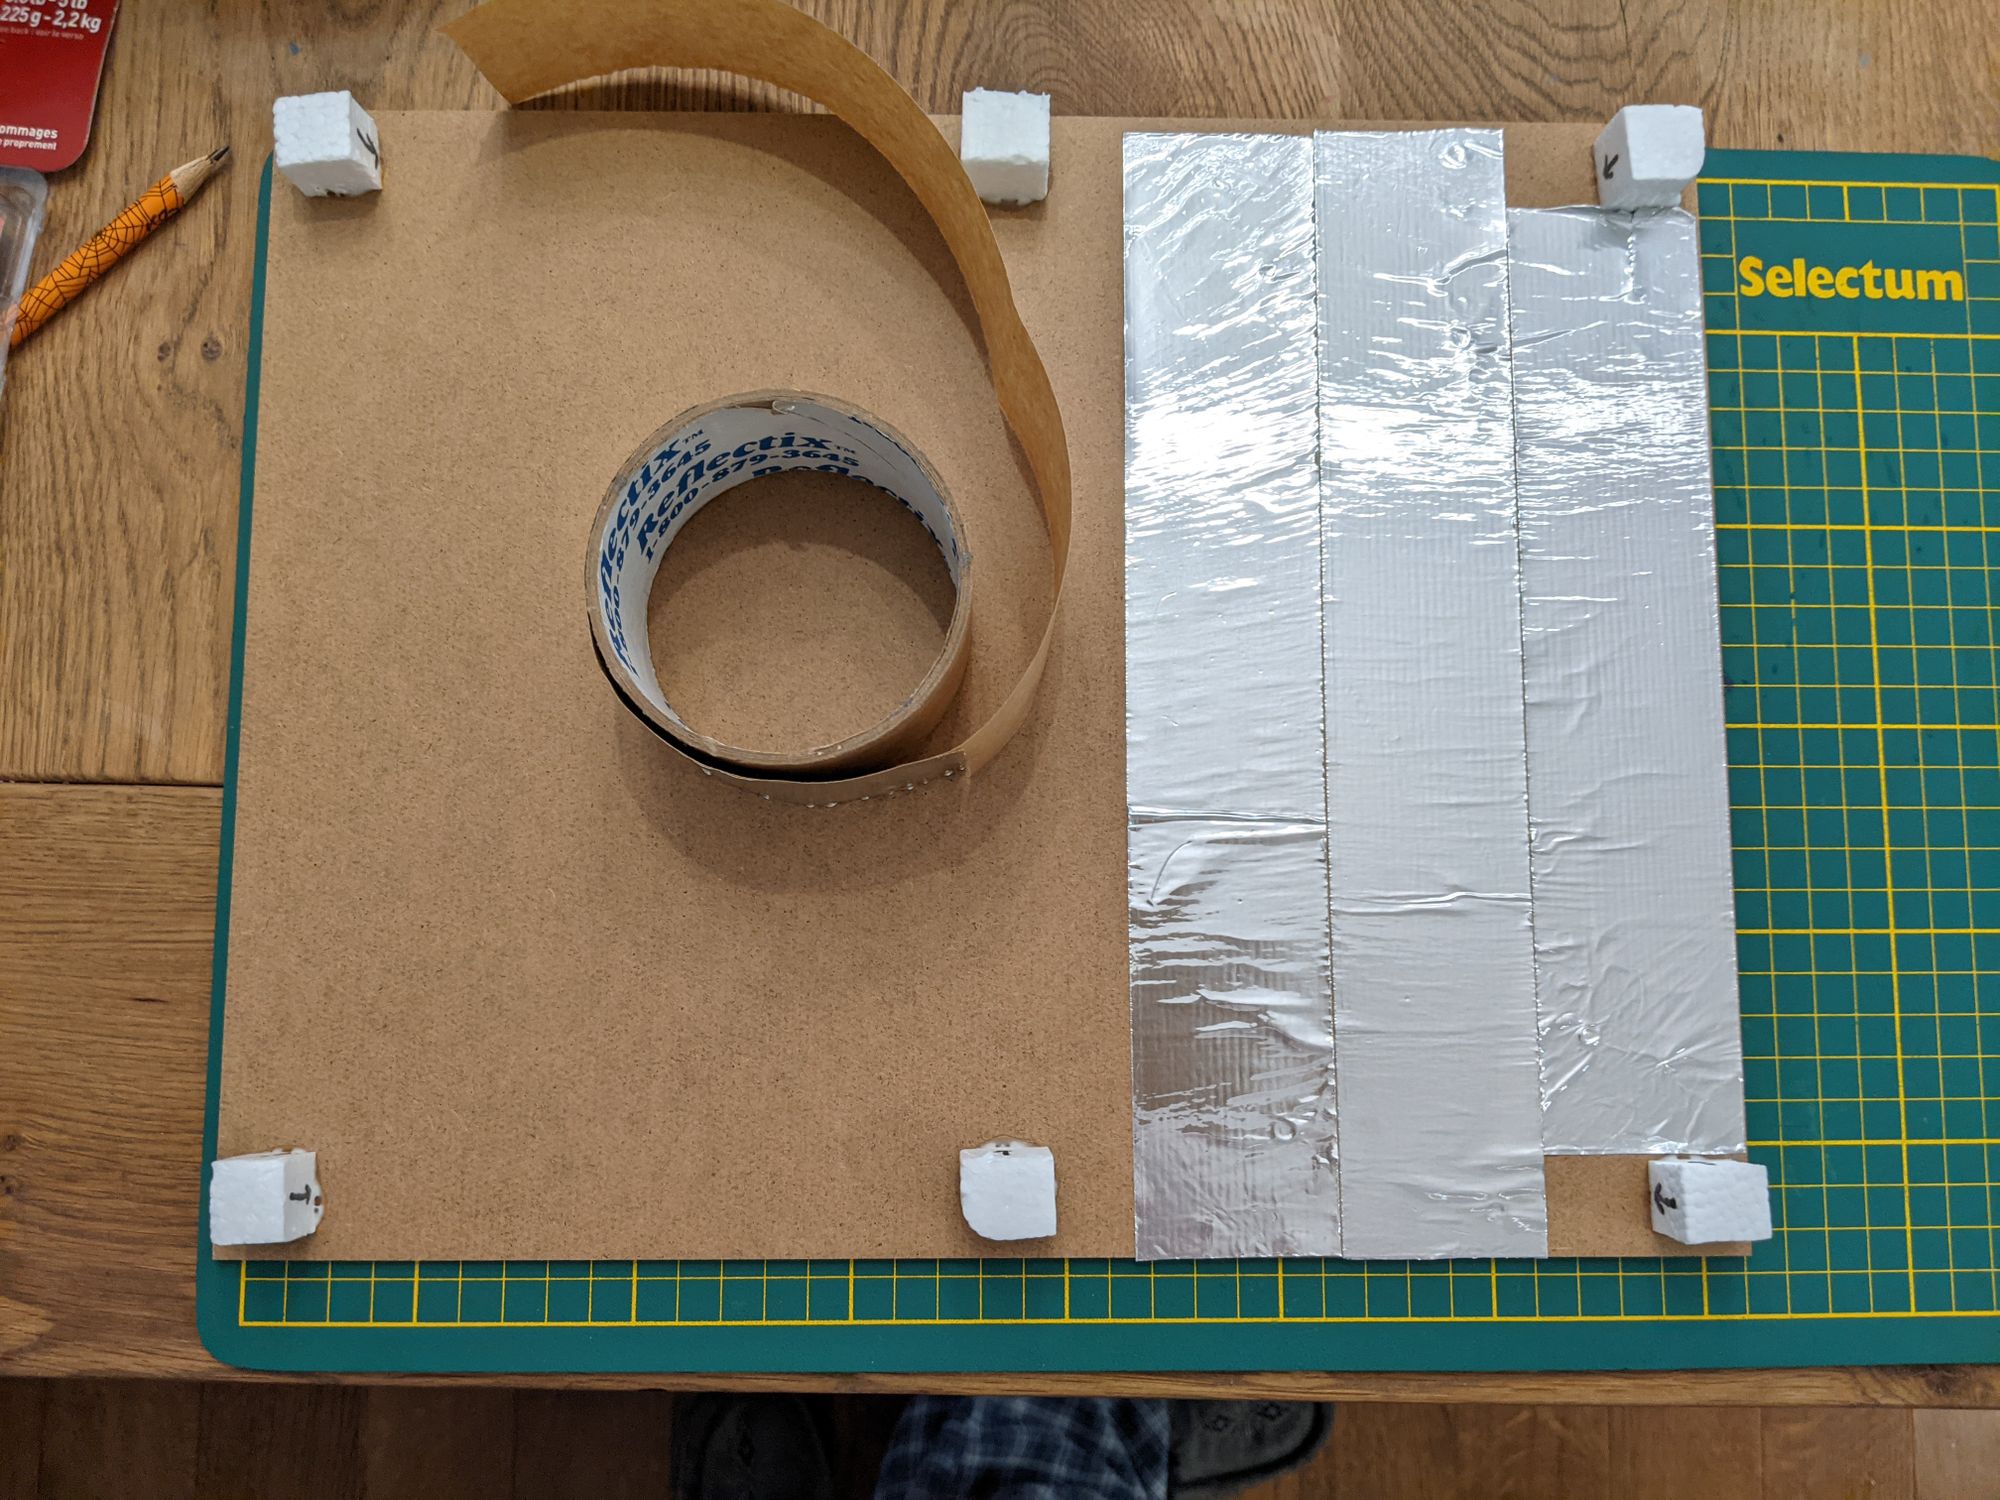
Instead, I ended up trimming pieces of styrofoam, and gluing them to the backing:
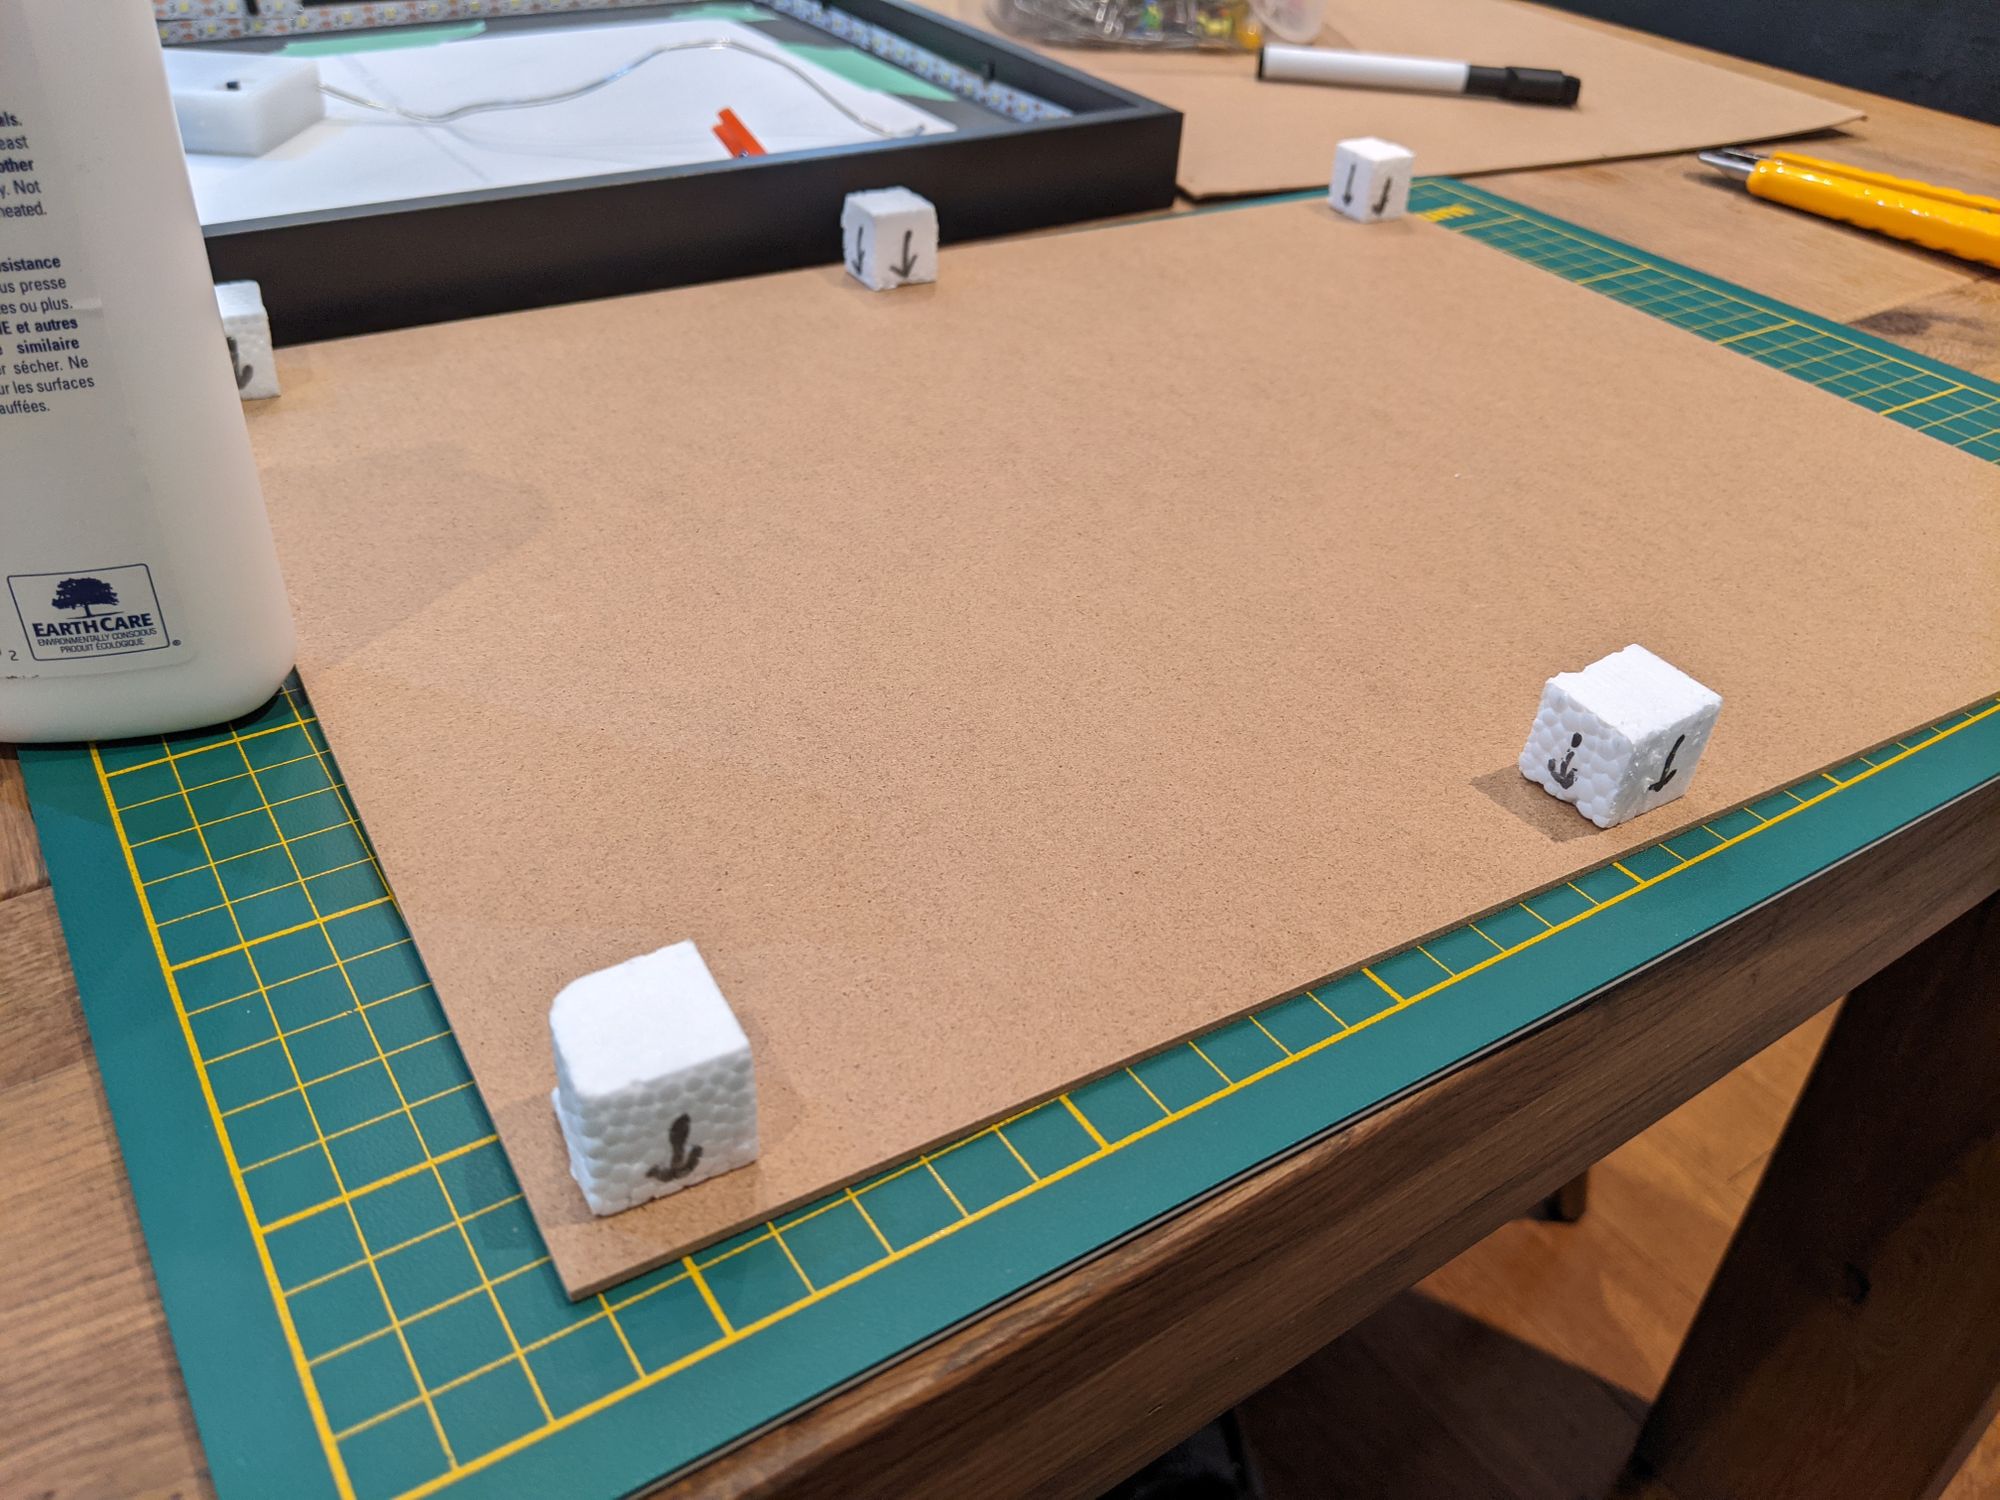
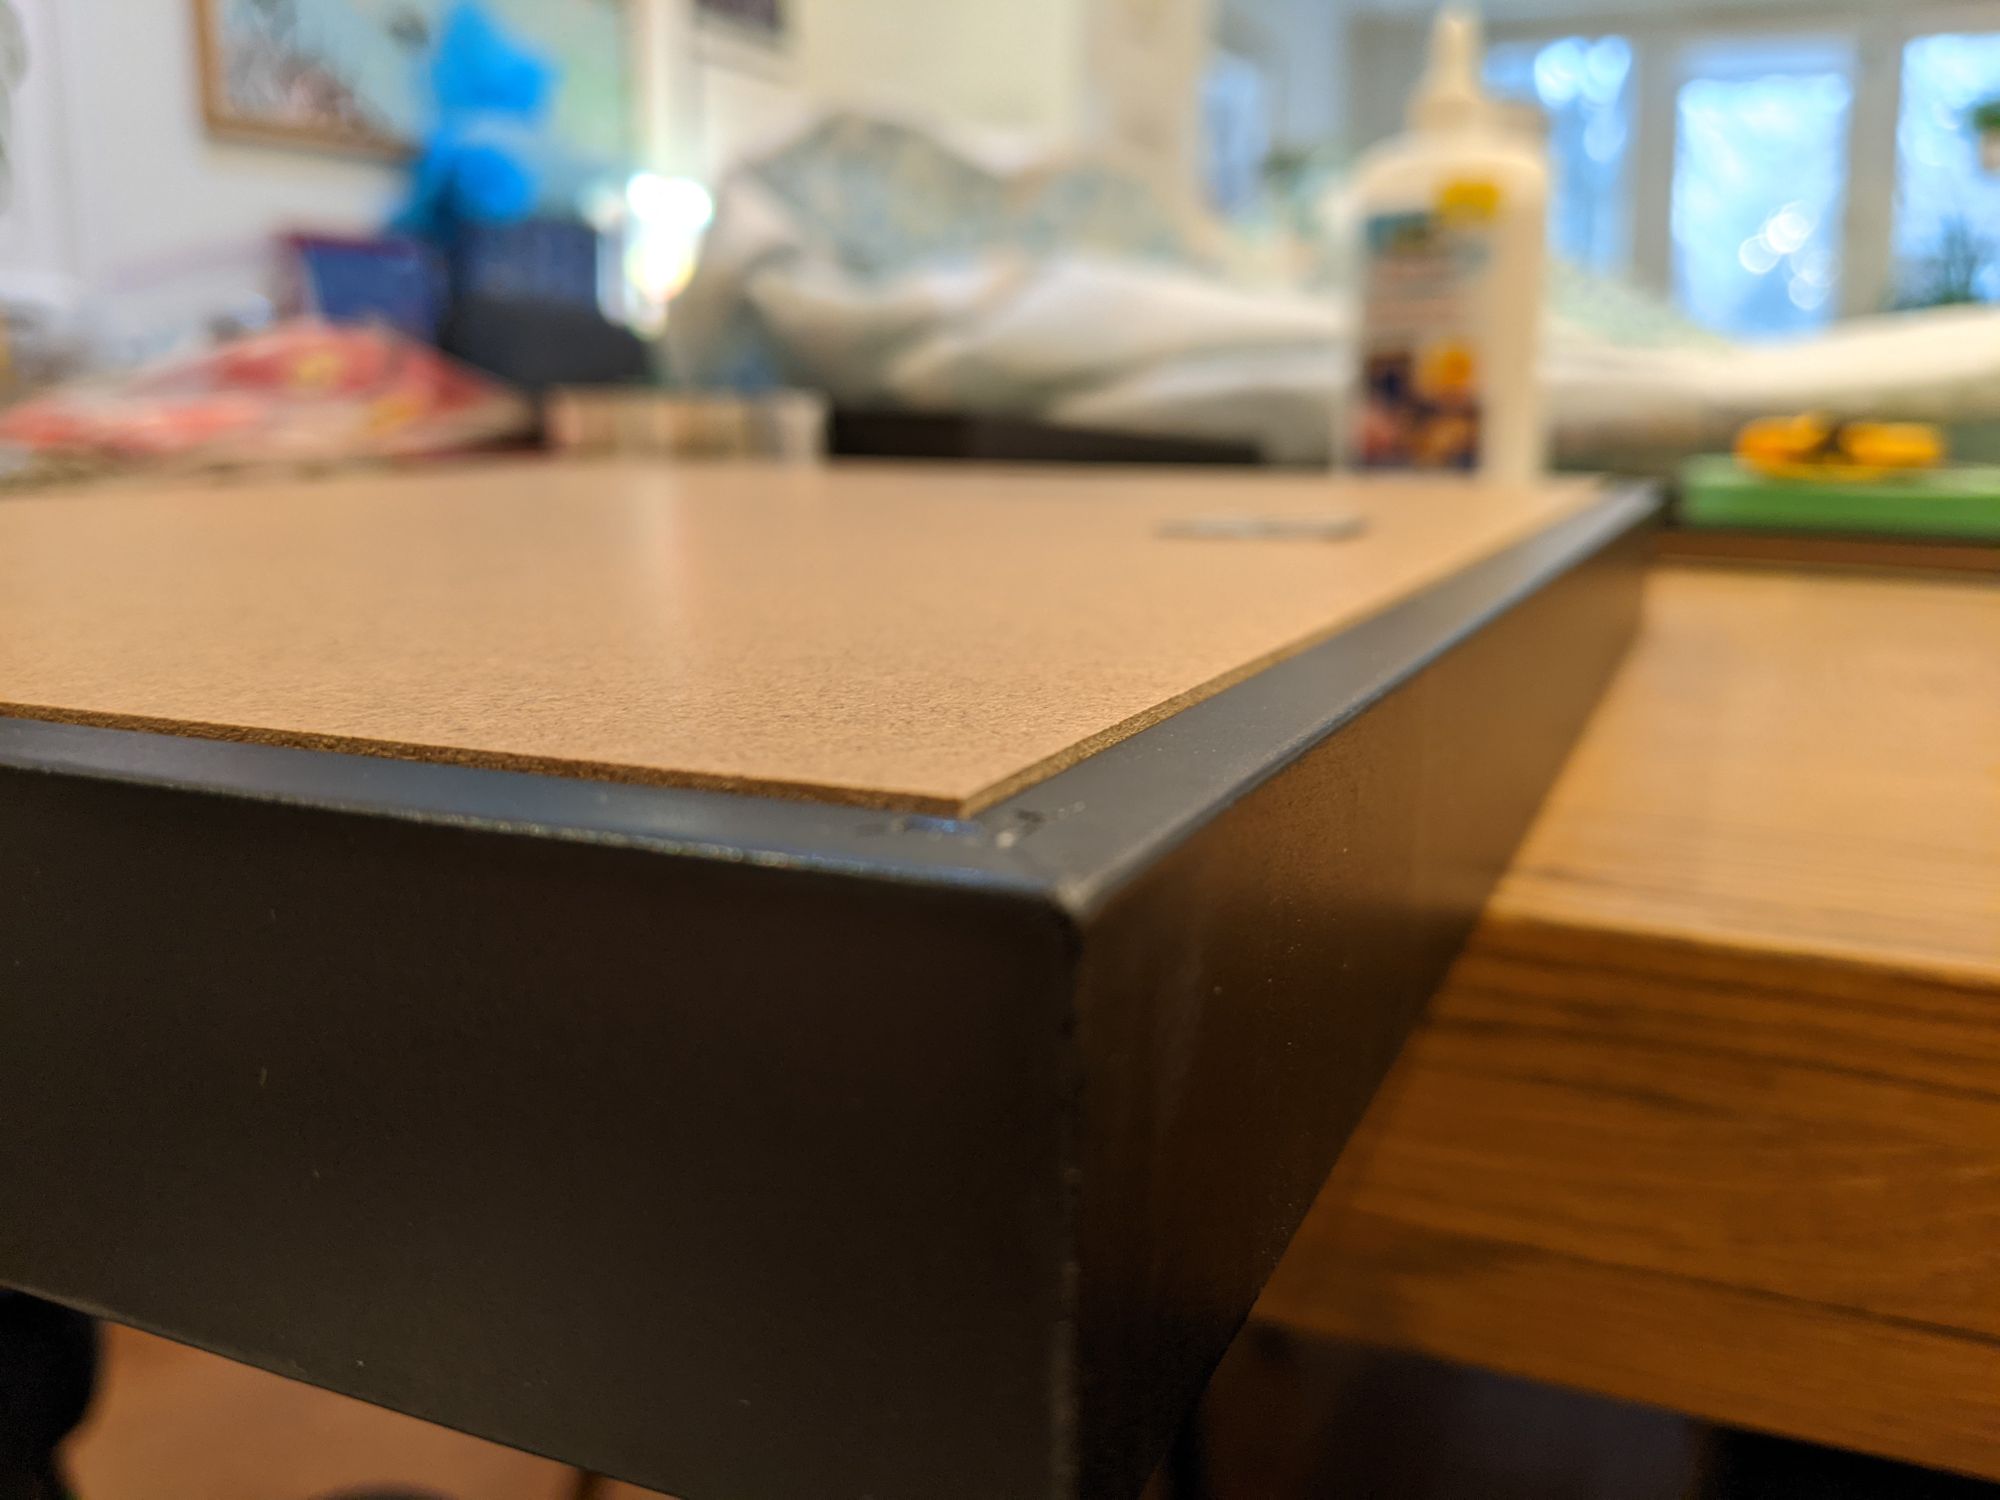
Shaving styrofoam pieces is messy, and I had a hard time making each one the same height. But it was close enough to get the backing board flush with the edge (close enough anyway!):
For aesthetic reasons, I didn't want to be able to see the individual LEDs, so it was important to diffuse the light inside the shadow box. I used foil tape ($5 CAD for 30 ft) on the inside of the backing board. You could also add an opaque vellum or acrylic sheet, but I wanted to avoid anything thick, as I didn't have a lot of depth to work with.
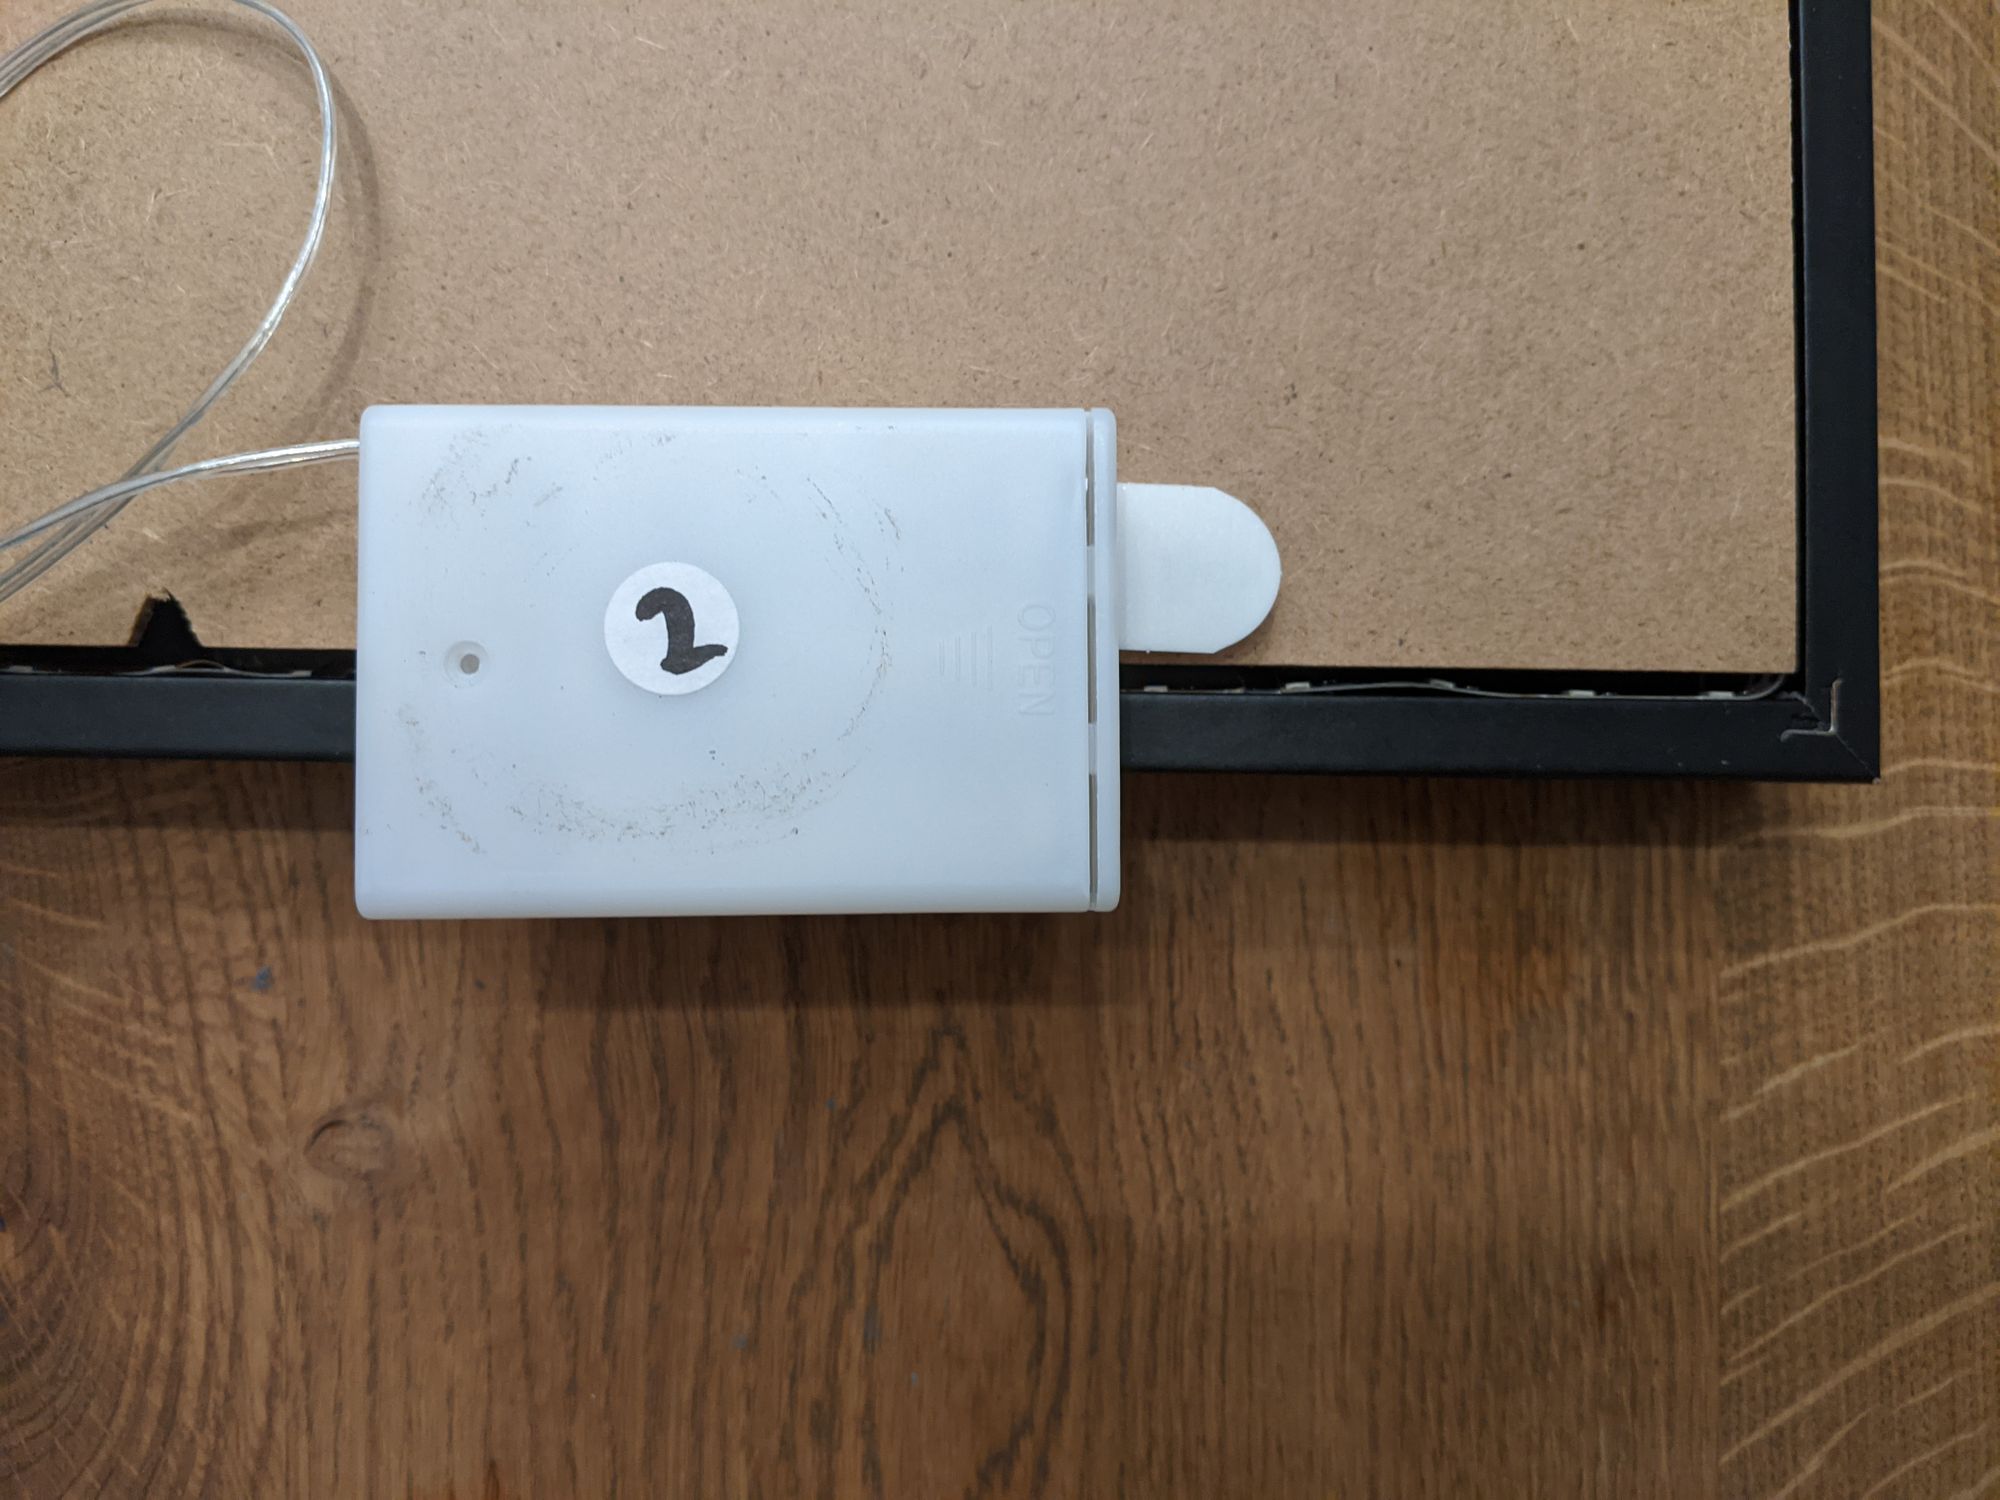
The last thing to figure out was where to put the battery pack. There is an on/off switch on the opposite side of where the battery door is. If I put the battery pack on the outside of the frame, the battery door needs to face outwards, and the whole thing offset to access the switch.
I tried this idea using a Command Strip to tape the pack to the back of the frame, threading the wire through a small notch:
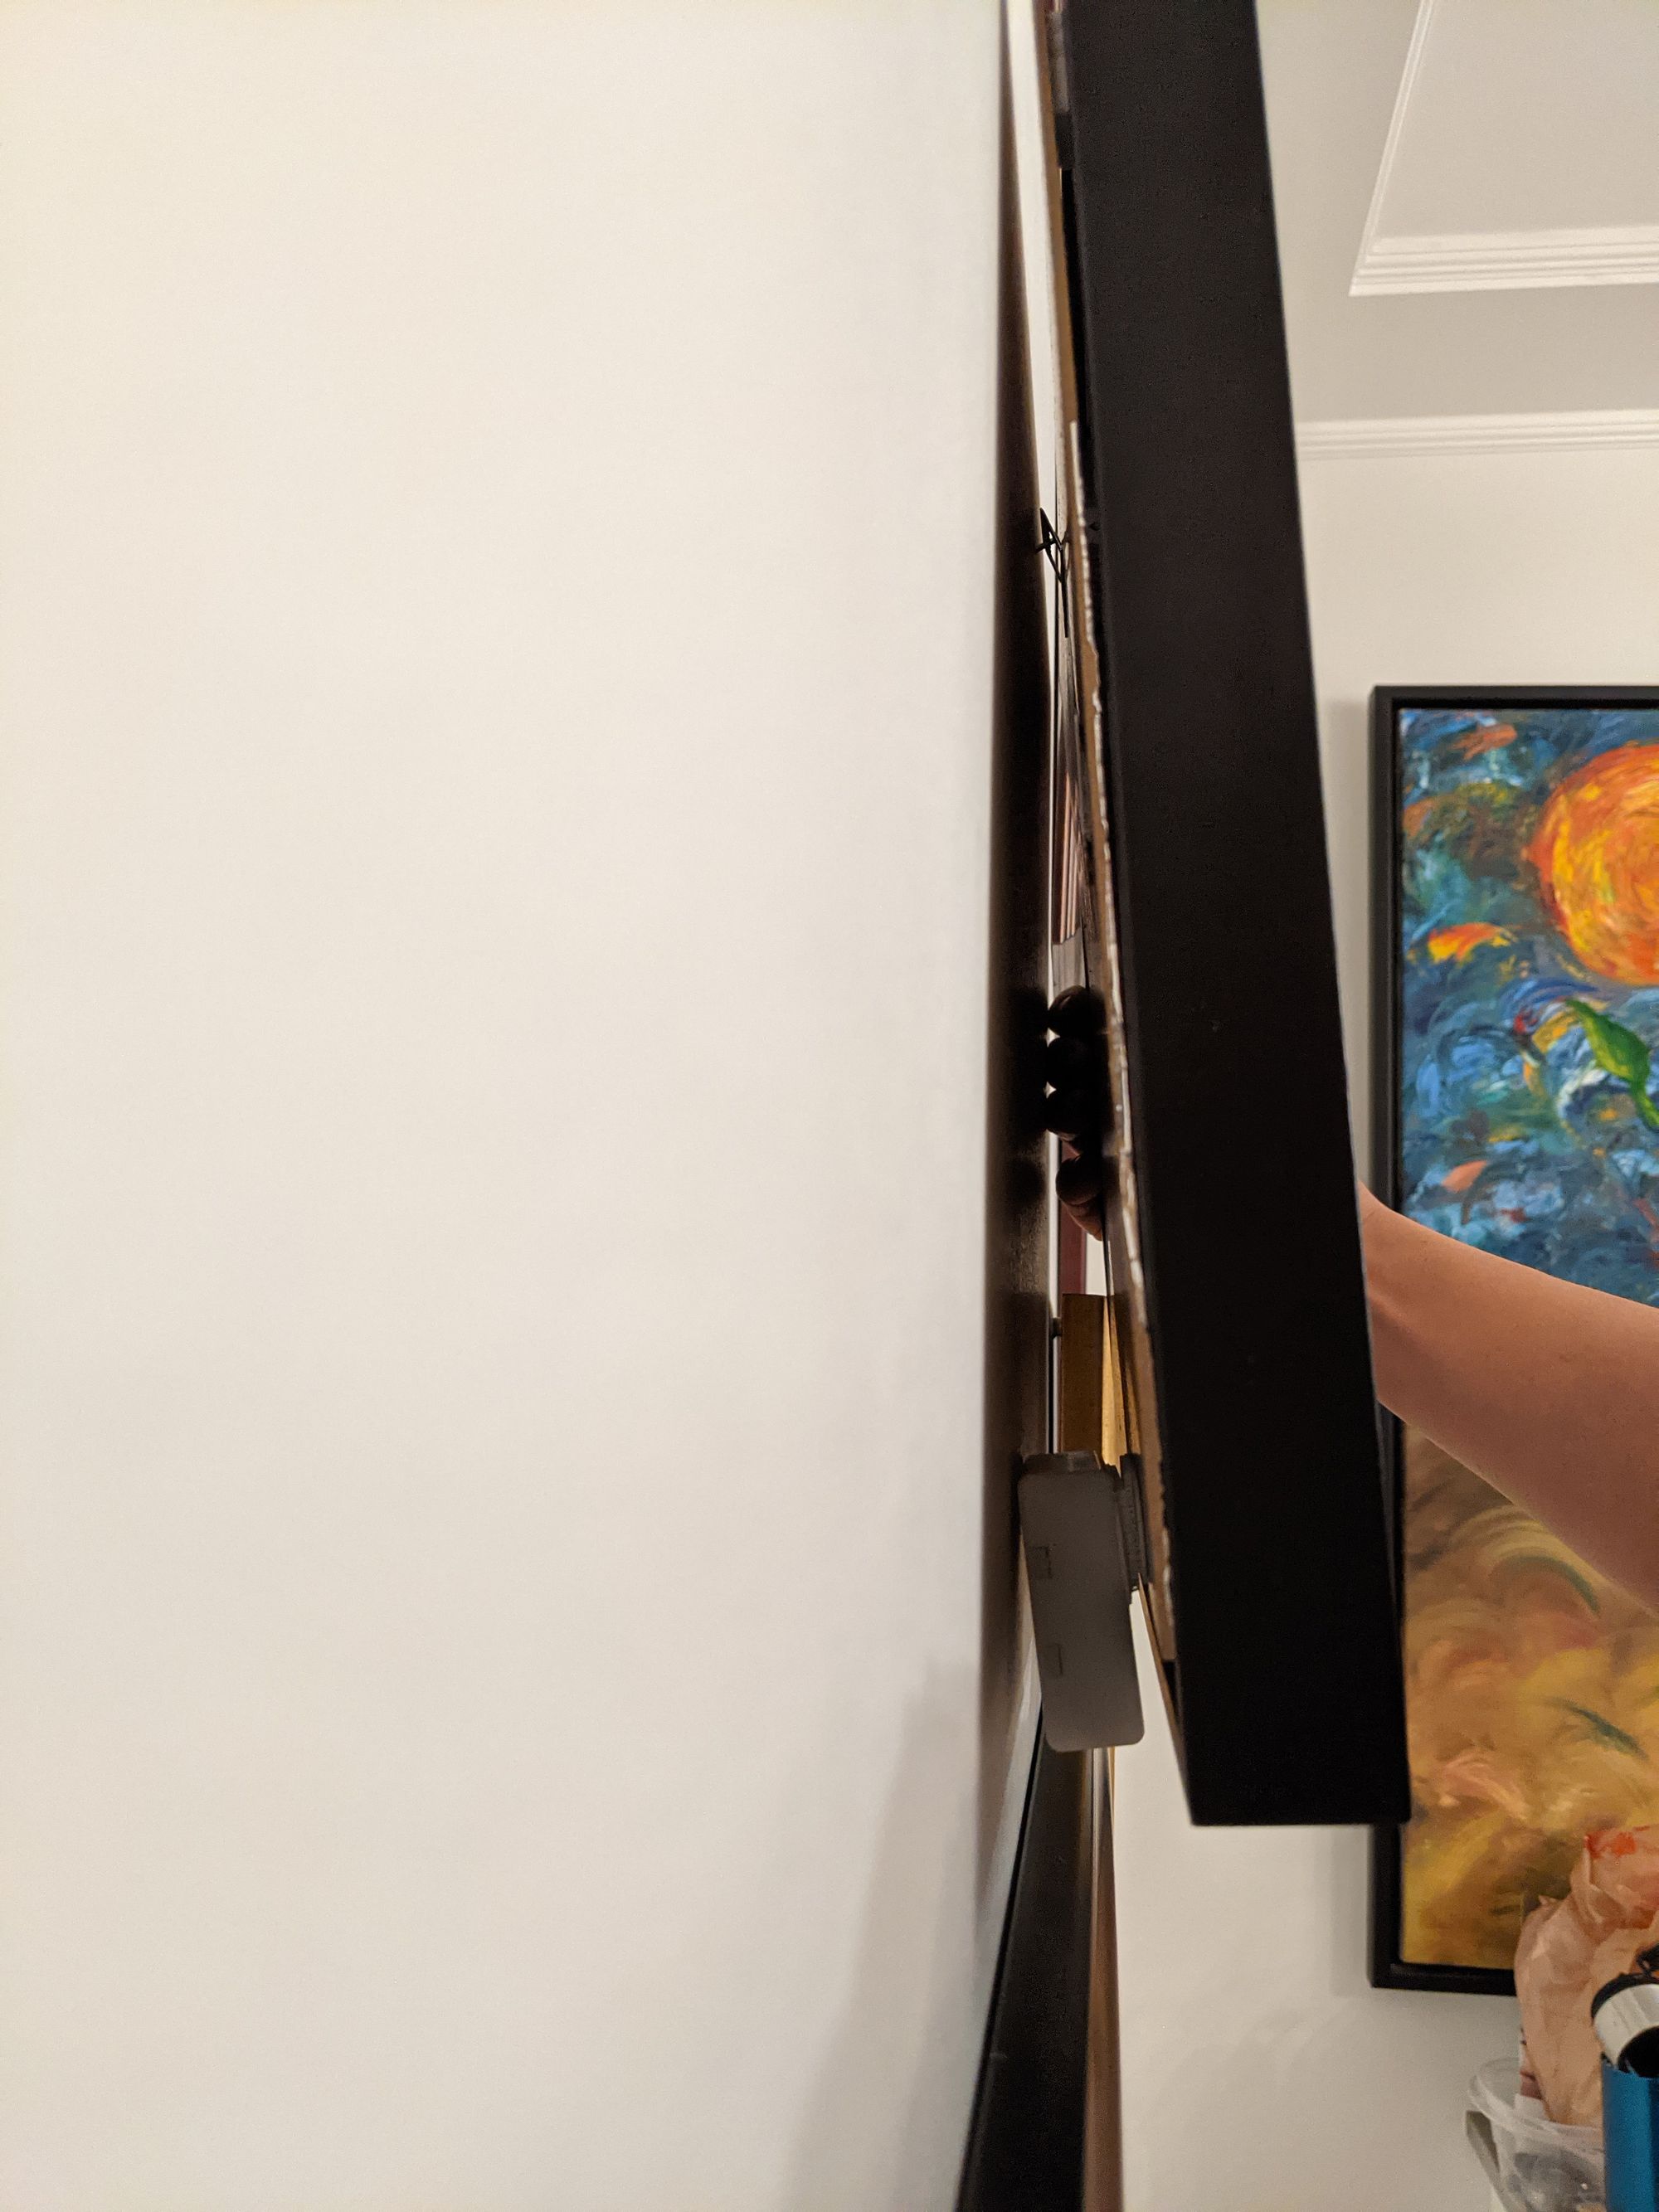
However, when putting the frame on the wall, it tilted backwards too much:
I decided to try storing the battery pack inside the frame. I cut out three sides from the backing board to make a door, then used paper tape to reinforce the hinge. The width was enough to slip in the battery pack, and the height was just slightly less so the pack wouldn't fall out.
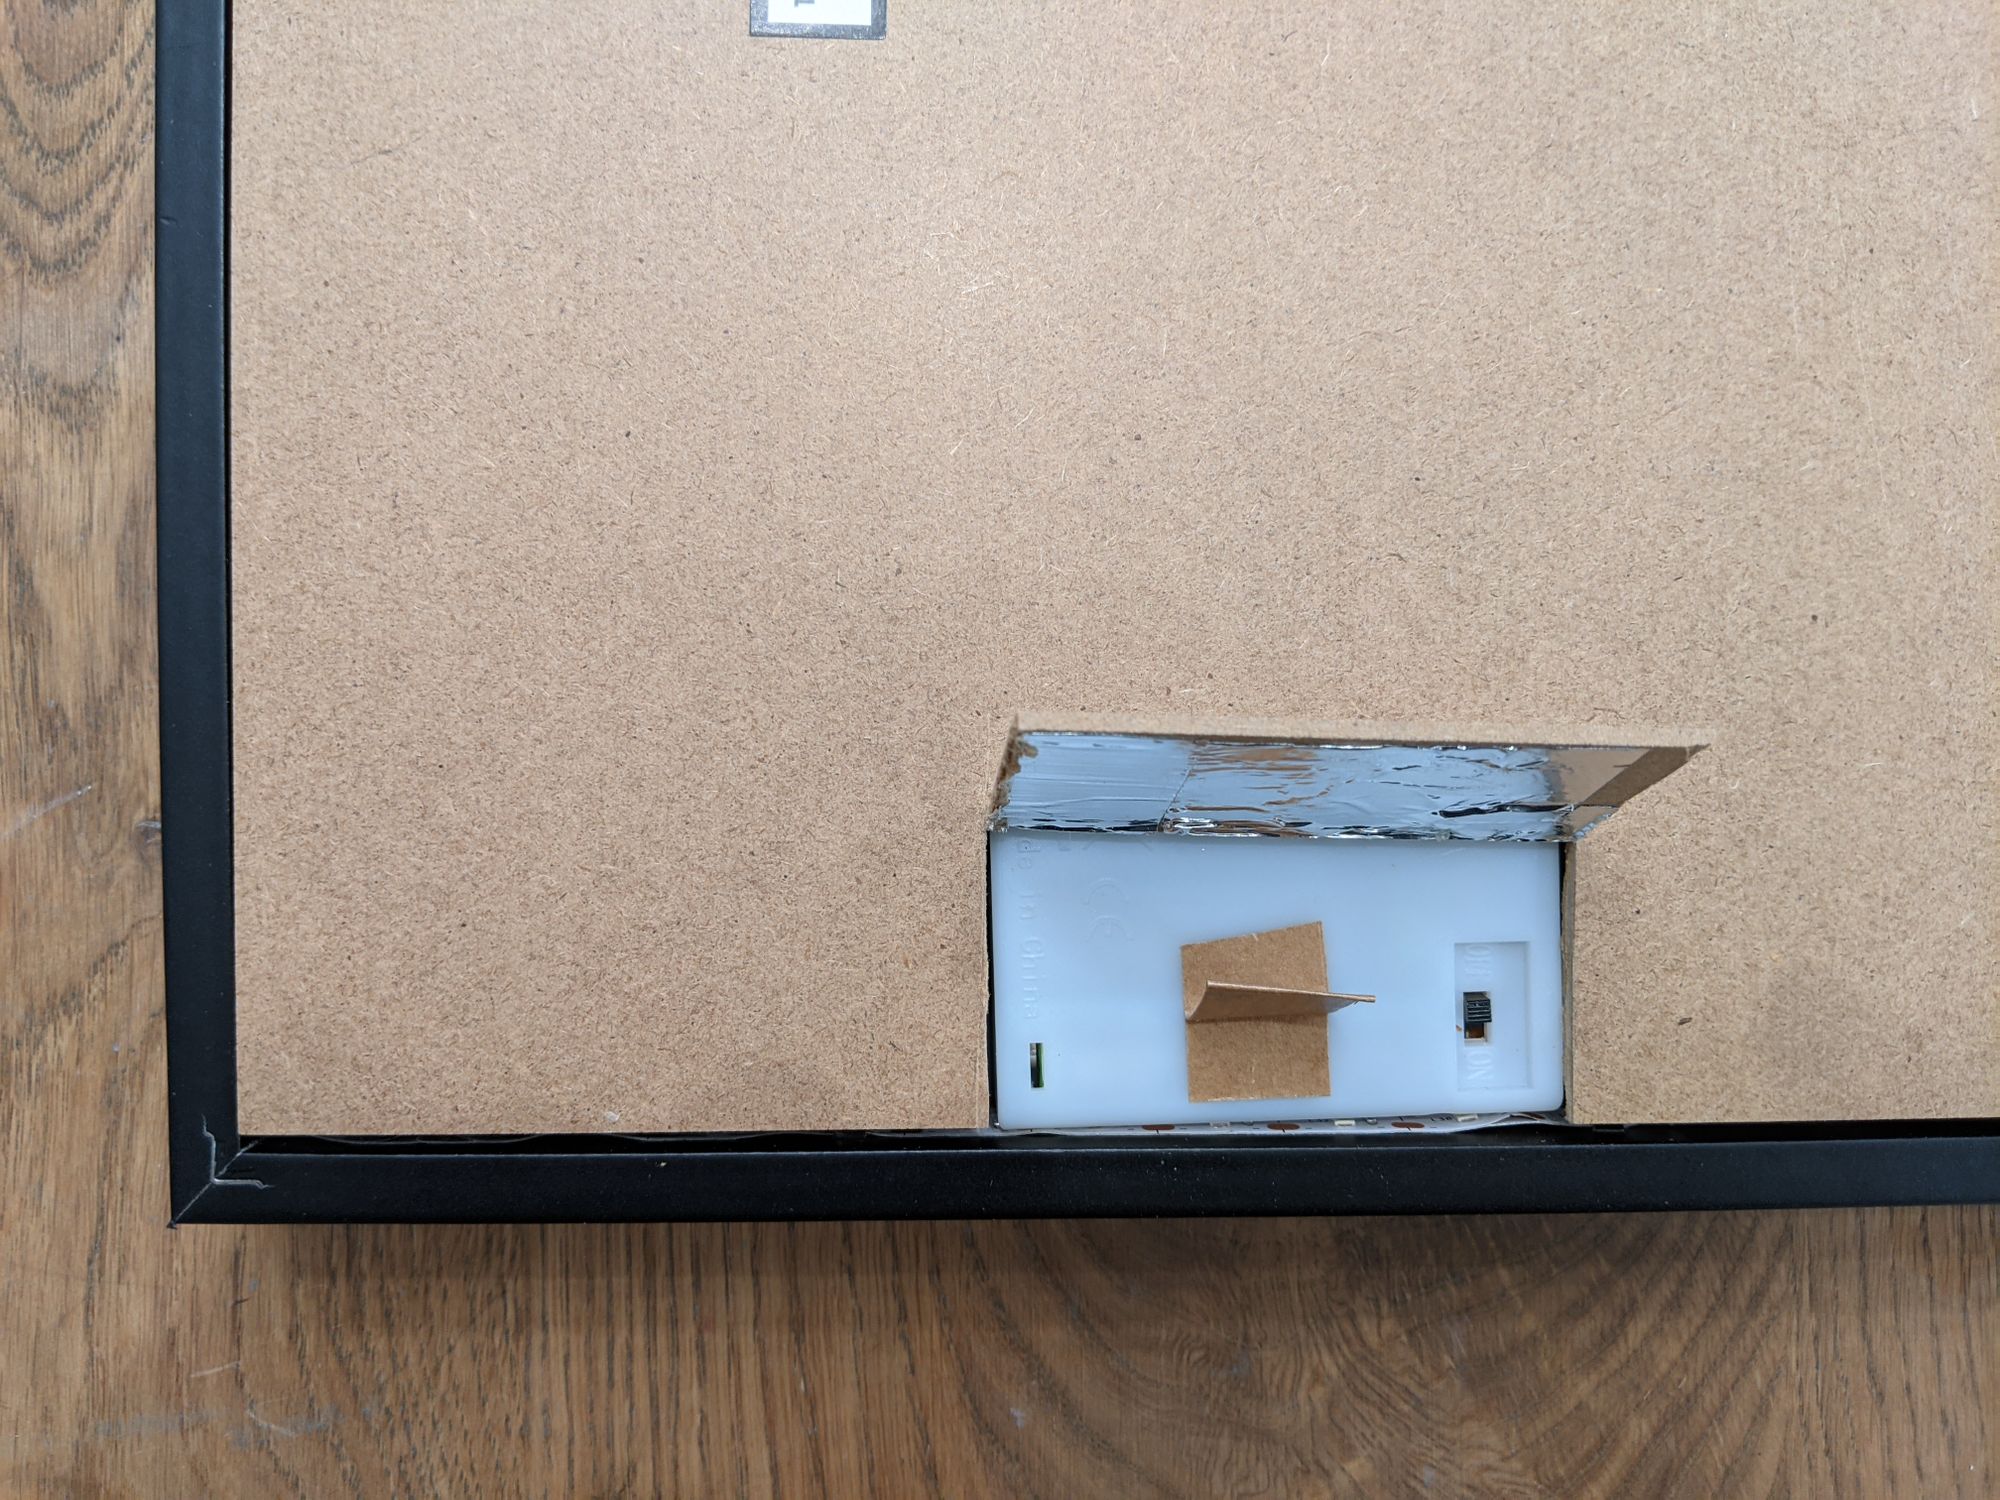
If you're wondering why there's a little tape flag attached to the battery pack, it's to make it easier to remove it to change the batteries:
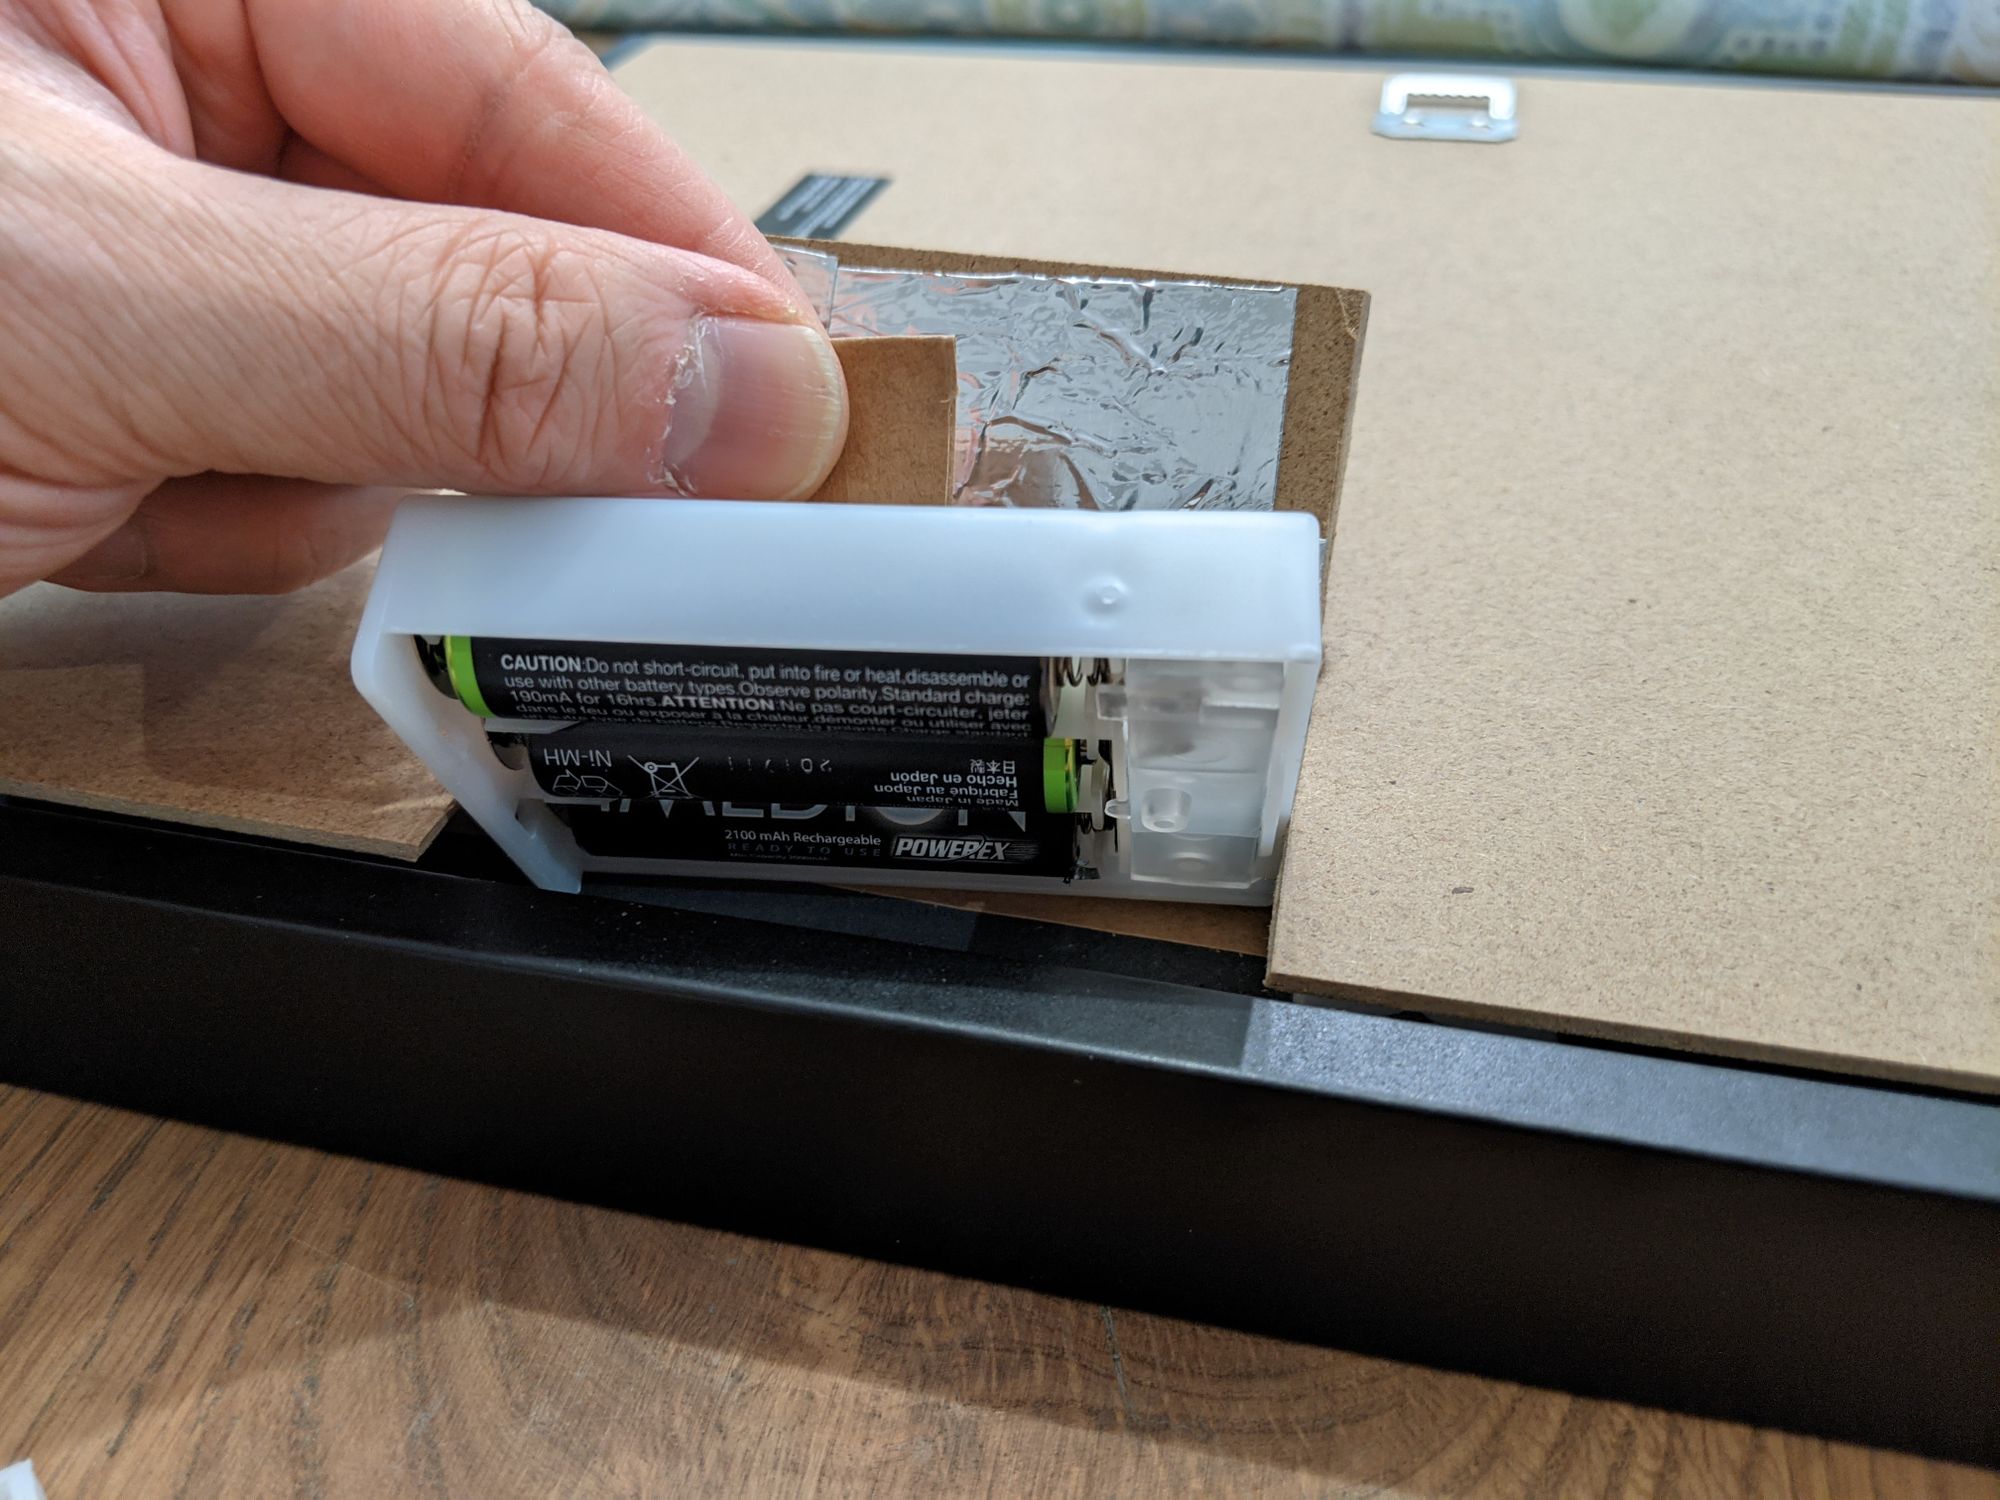
I was initially worried that you would be able to see the shadow of the pack inside the frame, or that it would block too much light, but it wasn't a problem.
Once I was happy with the positioning, I taped the backing board to the frame using more paper tape. This would block any light leakage, and more importantly, held the frame and its contents together, so it could be hung.
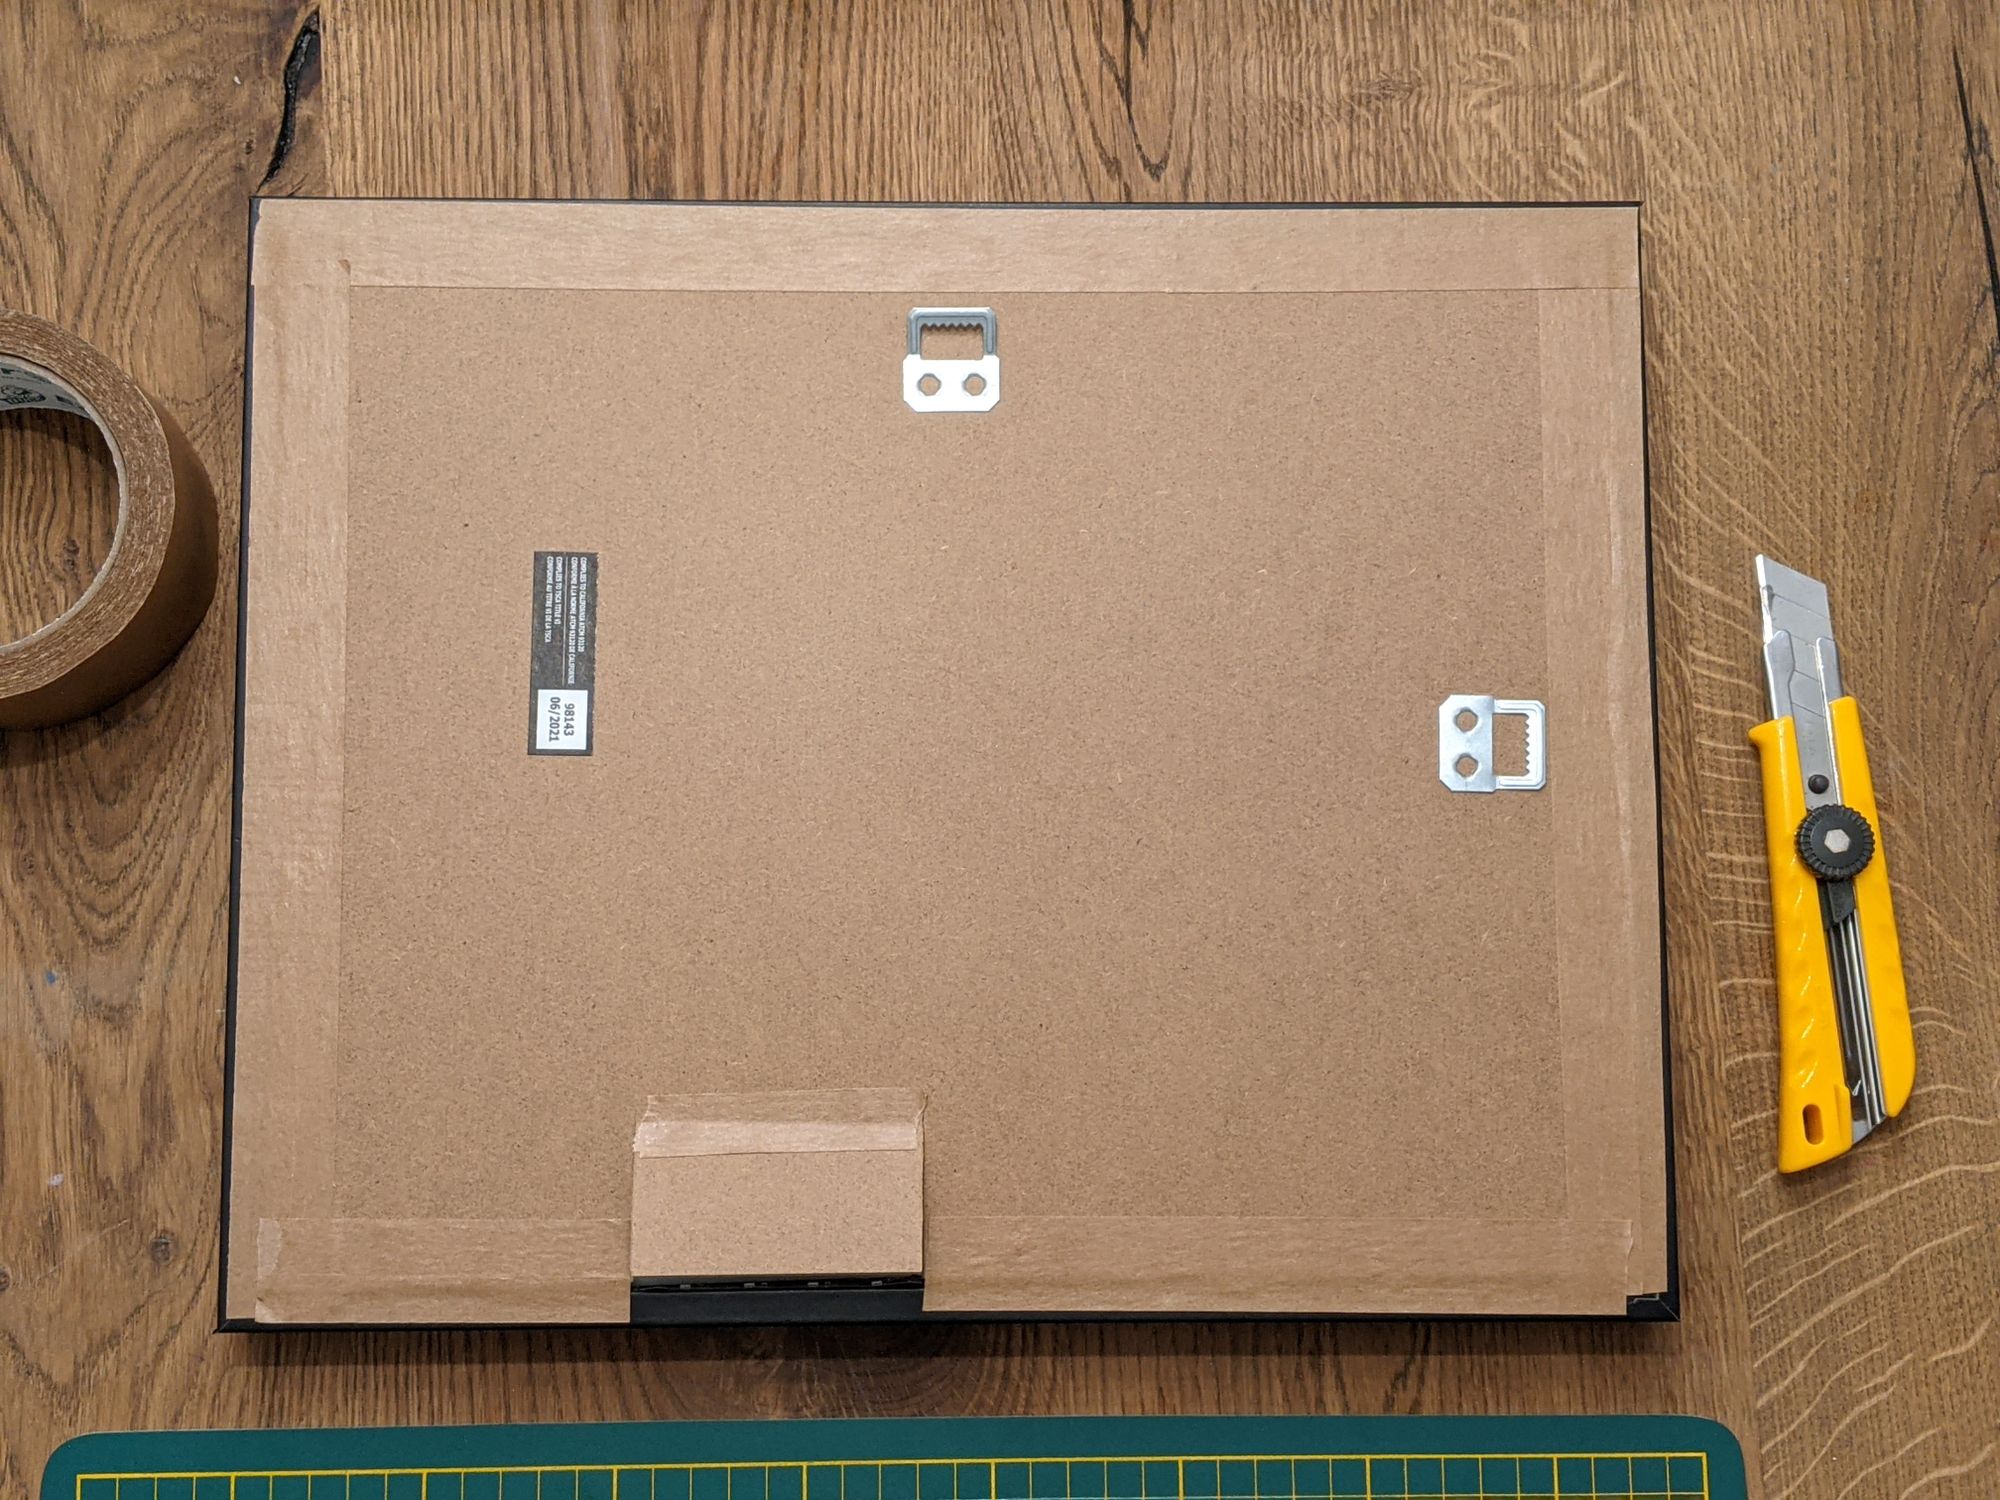
That's pretty much it! I was quite pleased with the result. The neon signage in the composition looks really good when it's illuminated.
